The Ultimate Guide to Painting on Terracotta Pots: Easy DIY Designs
Transforming a plain terracotta pot into a vibrant piece of garden art is a rewarding project that combines creativity with horticulture. The porous, warm hue of the clay provides a perfect canvas for a variety of paints, but its unique properties require a specific approach to ensure your design lasts through seasons of sun and rain. Whether you are refreshing an old pot or customizing a new one for your indoor jungle, understanding the fundamentals of preparation and technique is essential for a flawless finish.
Preparing the Terra Cotta Surface
The single most critical step in painting terracotta is proper preparation. Fresh from the manufacturer, the clay surface is often dusty and slightly rough, which can cause paint to peel or crack over time. Before you even open your paint palette, you must clean the pot thoroughly to remove any debris or manufacturing residue. Rinse it under running water and use a soft brush to scrub the exterior, ensuring it is completely dry before proceeding to the next stage.
Priming for Success
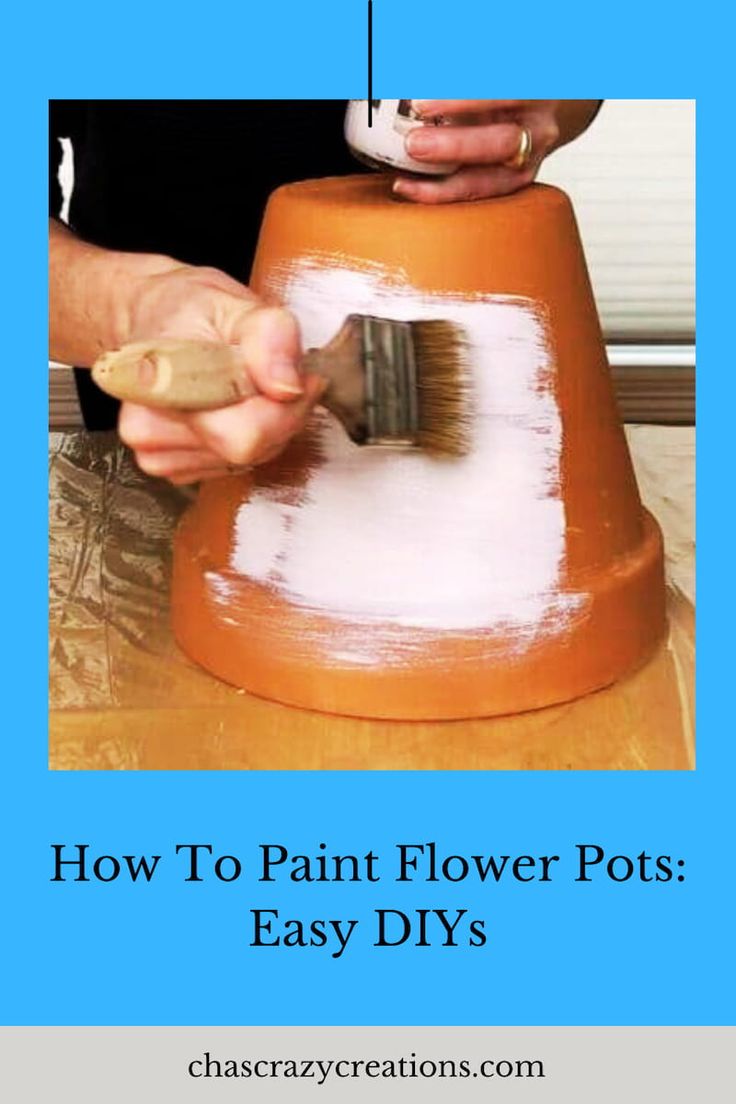
Applying a primer is not just a suggestion; it is a non-negotiable step for durability. Terra cotta is highly absorbent, and without a sealant, your paint will sink into the pores, resulting in a dull, faded appearance that requires frequent touch-ups. A high-quality gesso or a primer specifically designed for porous surfaces creates a uniform texture and prevents the clay from sucking the moisture out of your paint too quickly. This barrier allows for better color payoff and significantly extends the life of your artwork.


Choosing the Right Paints
Not all paints are created equal, and using the wrong type will lead to frustration as your design washes away in the first heavy rain. You need formulas that can flex with the terracotta rather than crack against it. Acrylic paint is the most popular choice due to its water resistance, vast color range, and ease of cleanup. For pieces that will live outdoors permanently, sealing with a waterproof polyurethane is the only way to guarantee longevity against the elements.
- Acrylic Craft Paint: Ideal for indoor pots or decorative outdoor pieces that can be brought inside during harsh weather.
- Exterior Grade Paints: Formulated to withstand UV rays and moisture, perfect for permanent outdoor installations.
- Oil-Based Enamels: Provide a hard, glossy finish but require mineral spirits for cleanup and longer drying times.
Sealing Your Creation
Once your masterpiece is fully dry, the final step is applying a sealant. This clear coat acts as an invisible shield, protecting the paint from chipping, scratching, and fading. For indoor pots, a simple matte or gloss acrylic sealer works well, but for outdoor pieces, you should opt for a waterproof spray sealant. Apply thin, even coats and allow adequate drying time between layers to avoid a cloudy or tacky finish.


Techniques and Application
How you apply the paint dramatically affects the final look of your pot. For a smooth, modern aesthetic, use fine-tip brushes or even spray paint to achieve clean lines and gradients. If you prefer a rustic, hand-painted feel, a standard flat brush works well for solid blocks of color. Stencils are excellent for adding intricate patterns without needing a steady hand, while dotting tools can create charming floral textures or polka dot designs with minimal effort.
Layering and Drying
Patience is vital when working with paint on clay. Unlike paper, you cannot rush the drying process without risking smudges or mixing colors unintentionally. Always apply paint in thin layers, building up the intensity gradually rather than trying to achieve full opacity in one heavy coat. Rushing this stage can result in streaks, brush marks, or the paint lifting off the surface, undoing all your careful preparation.
Drainage Considerations
A common mistake beginners make is painting the entire pot, including the bottom, which traps moisture around the roots and leads to root rot. Even though the painted exterior looks beautiful, the plant inside still needs to breathe and drain properly. To avoid this, leave a small strip of the raw terracotta visible at the bottom, or carefully paint the lower third of the pot while ensuring the drainage hole remains unobstructed. This allows excess water to escape while still protecting the clay from constant dampness.


Maintenance and Longevity
Even with the best preparation, outdoor terra cotta is subject to the elements. Freezing temperatures can cause water trapped in the paint to expand, leading to cracks, while intense sun can bleach colors over time. To keep your pot looking fresh year after year, inspect it annually for wear and reapply sealant as needed. Touching up chipped areas promptly will prevent the exposed clay from absorbing water and causing the surrounding paint to flake off.


Related Articles

The Ultimate Guide to Outdoor Paint for Terracotta Pots: Durable & Weatherproof
Terracotta pots are a staple in gardens and on patios, offering a rustic charm that complements any plant. However, their porous nature and light color mean...
The Ultimate Guide to Painting a Terracotta Pot: DIY Tips & Tricks
Painting a terracotta pot is a rewarding project that transforms a simple, earthy container into a vibrant piece of garden or home décor. The porous nature of...

Chalk Paint Upholstery: The Ultimate Guide to Painting Fabric Like a Pro
Transforming a tired piece of furniture with a new look is one of the most rewarding DIY projects, and using chalk paint for upholstery offers a uniquely...

Painting Terracotta Tiles: DIY Guide & Color Ideas
Terracotta tiles bring a distinct warmth and rustic charm to any space, but their porous nature and earthy finish often leave homeowners wondering if they can...

The Ultimate Guide to the Best Terracotta Paint Colors for Your Home
Choosing the best terracotta paint colors can transform a room, adding warmth, depth, and an earthy sophistication that few other hues can match. This...

Decorative Room Painting Guide: How to Paint a Room with Stunning Designs
Transforming a room goes far beyond selecting a paint color and rolling it onto the wall. The true magic lies in incorporating decorative designs that add...