The Ultimate Guide to Painting a Terracotta Pot: DIY Tips & Tricks
Painting a terracotta pot is a rewarding project that transforms a simple, earthy container into a vibrant piece of garden or home décor. The porous nature of terracotta absorbs color beautifully, but it also requires a specific approach to ensure the paint adheres properly and lasts through weather changes. This guide provides a detailed, step-by-step process to prepare, paint, and seal your terracotta pots like a professional, whether you are creating a statement piece for your patio or a thoughtful handmade gift.
Why Terracotta Pots Are a Canvas Worth Painting
Terracotta’s natural clay composition offers a unique advantage for painters. Its warm, reddish-brown tone provides a rich base that can make certain colors pop, especially whites, brights, and metallics. However, the material’s porosity means it can dry out quickly and crack if not handled correctly during the painting process. Understanding this characteristic is crucial for achieving a smooth, durable finish. The key is to work with the pot’s texture rather than against it, using the right products to seal the surface before and after applying your design.
Essential Materials and Tools for the Project
Gathering the right supplies is the first step toward a flawless result. You will need high-quality acrylic paints, as they are flexible and weather-resistant, making them ideal for terracotta. A selection of synthetic brushes in various sizes will allow you to switch from broad coverage to fine details seamlessly. Other critical items include a pot primer specifically formulated for porous surfaces, a gentle cleaning solution, painter’s tape for creating sharp lines, and a clear acrylic sealer to protect your artwork. Having a sponge and paper towels on hand will also help manage any accidental drips or spills efficiently.


Recommended Tools and Their Purpose
| Tool | Purpose |
|---|---|
| Acrylic Paints | Provide vibrant color and flexibility |
| Synthetic Brushes | Handle acrylics and terracotta texture well |
| Potting Primer | Creates a non-porous surface for paint adhesion |
| Clear Sealant | Protects the paint from sun and water damage |
| Painter's Tape | Creates clean, geometric lines and patterns |
Preparing the Pot: The Foundation of Success
Skipping the preparation stage is the most common reason painted terracotta pots peel or fade quickly. Begin by scrubbing the pot thoroughly with soap and water to remove any dust, debris, or residual clay particles that could prevent the paint from bonding. For unglazed pots, you may notice some stubborn mineral deposits; a light sanding with fine-grit sandpaper can smooth out the surface. Once clean, allow the pot to dry completely. A bone-dry surface ensures that the primer adheres evenly, creating a stable canvas for your artistic vision.
Applying Primer and Creating Your Design
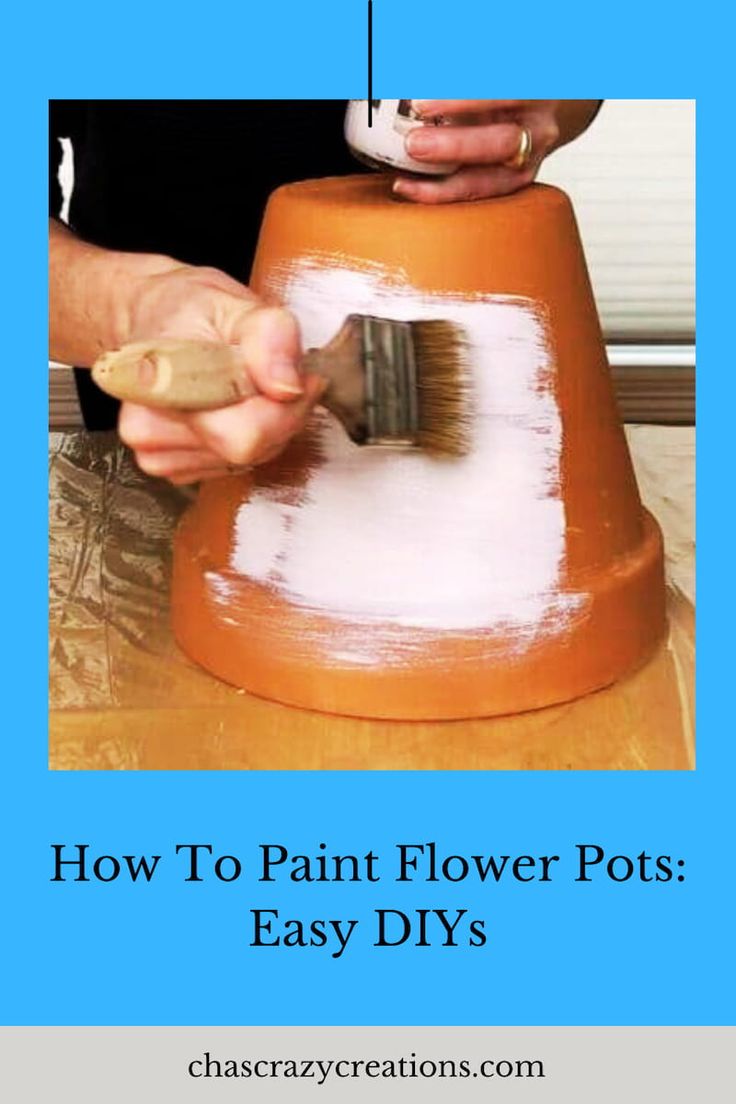
Priming is non-negotiable when painting terracotta. The clay absorbs moisture rapidly, causing paint to dry too fast and resulting in a rough, streaky appearance. Apply a coat of potting primer using broad, even strokes, following the natural curve of the pot. Allow it to dry according to the manufacturer’s instructions—usually one to two hours. Once the primer sets, you can transfer your design using a pencil for light guidance or use painter’s tape to create crisp, modern patterns. This stage is where creativity meets precision, so take your time to plan your layout before committing color to the surface.


The Art of Painting: Techniques for a Professional Look
When you are ready to paint, start with a base coat if you want to change the pot’s original color entirely. Use thin layers rather than thick applications; terracotta drinks up the paint, and multiple thin coats prevent cracking and ensure opacity. For intricate designs, switch to smaller detail brushes and practice your strokes on a piece of paper first. If you are aiming for a distressed or vintage look, you can lightly sand the edges after the paint dries to reveal hints of the terracotta beneath. Remember to maintain consistent pressure on your brush to avoid visible brushstrokes, and clean your tools immediately between colors to keep the workflow smooth and enjoyable.
Sealing Your Creation for Longevity
The final and most critical step in preserving your work is applying a sealant. Without it, the vibrant colors will slowly wash away with exposure to rain and sunlight. Choose a clear, water-based acrylic sealer that is labeled for outdoor use if the pot will reside outside. Hold the can approximately 12 inches from the pot and apply thin, sweeping motions to cover the entire surface, including the rim and bottom. Allow the first coat to cure for at least 24 hours, then apply a second coat for maximum protection. This sealant layer locks in the pigment and provides a slight sheen that enhances the overall appearance of your masterpiece.


Related Articles

The Ultimate Guide to Fabric Coat Paint: Tips, Tricks & Reviews
Fabric coat paint represents a specialized category of coating solutions designed specifically for application on textiles, leather, and other flexible...

The Ultimate Guide to Painting Metal Chairs: DIY Transformation and Tips
Transforming a tired, outdated metal chair is one of the most cost-effective ways to refresh a room or breathe new life into a patio set. Whether the piece is...

Ultimate Guide to Spray Painting Over Rust: Flawless Finish Tips
Finding rust on your metal surfaces can feel like a setback, but it is far from the end of the road. Spray painting over rust is not just a temporary fix; it...

The Ultimate Foster Guide Dog Handbook: Tips, Tricks & Resources
Becoming a foster guide dog parent is one of the most impactful ways an individual can contribute to the independence and safety of a person with vision...

The Ultimate Guide to Cleaning Wool Carpet: Expert Tips & Tricks
Wool carpet brings an undeniable sense of luxury and warmth to any room, but its delicate nature requires a specific approach to cleaning. Unlike synthetic...

The Ultimate Guide to Growing Italian Zucchini Plants: Tips & Tricks
The Italian zucchini plant, often celebrated in home gardens for its prolific yield and culinary versatility, represents a cornerstone of Mediterranean...