How to Change a Lawn Mower Pull Cord: Easy Fix Guide
A frayed or snapped pull cord can bring your lawn care routine to a grinding halt, but replacing it is a straightforward mechanical task you can complete in under an hour. This guide walks you through the exact steps to change lawn mower pull cord, ensuring you restore full function without unnecessary frustration or cost. By following these instructions, you will gain confidence in handling basic small engine maintenance and extend the lifespan of your equipment.
Tools and Materials You Will Need
Before you begin, gather the necessary tools to make the process efficient and safe. Having everything at your side prevents mid-project trips to the garage and keeps your focus on the task.
- Replacement pull cord rope (correct length and diameter)
- Socket wrench set or adjustable wrench
- Screwdriver (flathead or Phillips, depending on your model)
- Small c-clamp or vise (to secure the blade)
- Scissors or utility knife
- Work gloves and safety glasses
Safety First: Preparing Your Mower
Safety is the non-negotiable foundation of any maintenance task. A spinning blade or unexpected recoil can turn a simple repair into an emergency room visit, so take the time to isolate the engine properly.


Begin by disconnecting the spark plug wire to ensure the engine cannot start accidentally. Engage the parking brake if your model has one, and for extra security, clamp the blade so it cannot rotate. This step is critical because it prevents the cord from getting caught in the blades while you are working on the recoil starter.
Removing the Old Cord
Accessing the recoil starter mechanism requires removing the housing cover. Depending on your mower’s brand, you may need a screwdriver or a socket wrench to take off the side panel. Once the cover is off, locate the knot or clip holding the old cord in place at the center of the recoil spring.


Carefully release the tension on the spring by gently holding the recoil assembly with one hand while you pull the old cord out with the other. Allow the cord to unwind slowly to prevent the spring from snapping back violently. Dispose of the old rope properly and inspect the recoil starter for any broken teeth or excessive wear that might need replacement.
Measuring and Cutting the New Cord
The success of your repair depends on using the correct length of rope. Too short, and you cannot rethread it; too long, and you risk knots interfering with the recoil mechanism. Measure the old cord if it is still intact, or consult your mower’s manual for the standard length.
Cut the new rope to the measured length, adding an extra inch or two for tying secure knots. Use a lighter or heat shrink tubing to seal the cut ends of the rope. This prevents fraying and makes the threading process significantly smoother when you change lawn mower pull cord.


Threading the New Cord
Re-threading the cord is the most technical step, requiring patience and attention to the original routing pattern. The rope typically runs from the external handle, through the side channels, and up to the internal pulley system of the recoil starter. Follow the path the old rope took meticulously.
Secure one end of the new rope to the pull handle, then wind the other end onto the recoil pulley. Most engines use a specific winding direction (usually clockwise) and require the rope to be wound several times under tension. Refer to the diagram printed on the mower’s sticker or the packaging of your replacement rope to ensure you are threading correctly.
Securing the Rope and Testing Tension
Once the rope is wound correctly, you must lock it in place by securing the knot inside the recoil hub. This usually involves tying a final overhand knot that seats firmly against the interior wall of the spool. If your mower uses a clip system, feed the rope through the clip and secure it tightly before trimming the excess.
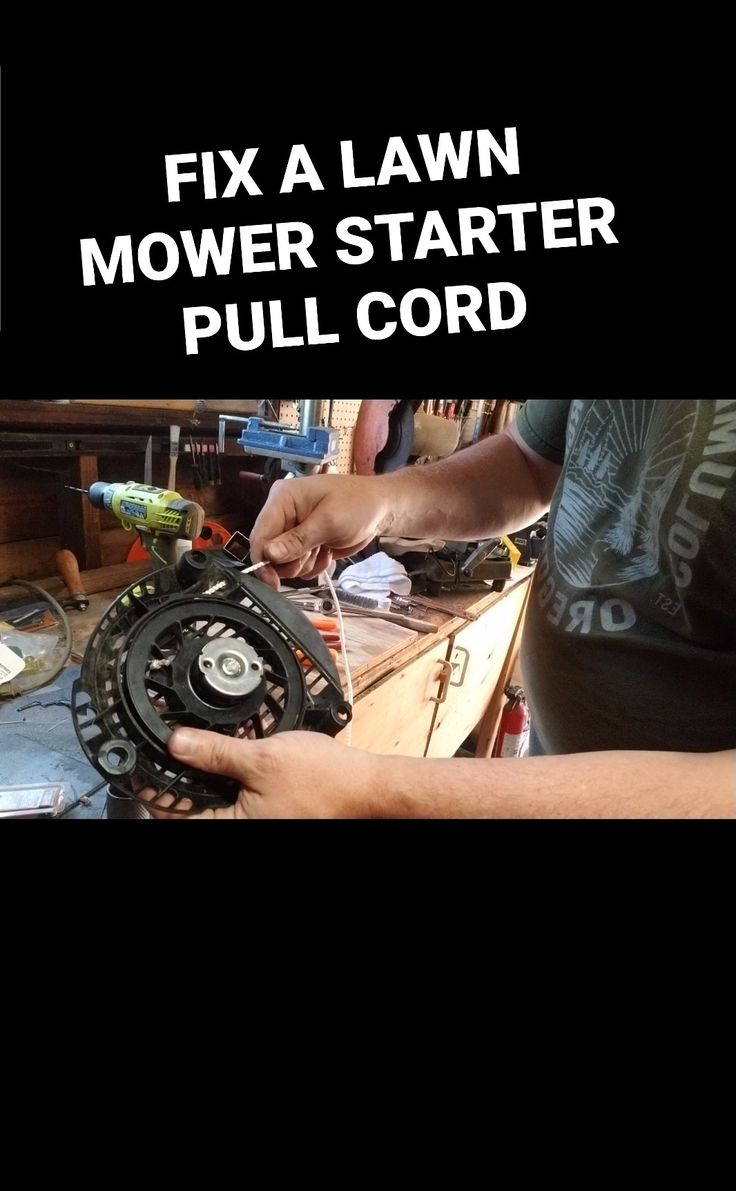


Test the tension by pulling the cord slowly. You should feel resistance as the spring retracts the rope, but the pull should be smooth and controlled. If the rope feels loose or slips back instantly, the spring is not engaging, and you will need to re-wrap it with more tension.
Final Reassembly and Start-Up
With the cord secured and tension tested, it is time to put the mower back together. Replace the recoil cover and tighten all bolts securely, but do not overtighten plastic threads. Double-check that the cord exits the housing cleanly and is not caught on any sharp edges.
Now it is time to verify your work. Reconnect the spark plug wire, pull the cord firmly, and listen for the engine’s ignition. If the mower starts immediately and runs smoothly, you have successfully changed the pull cord. Regular maintenance of this component ensures your lawn care equipment remains reliable season after season.
Related Articles
How to Change a Pull Cord on a Lawn Mower: Easy Fix Guide
A frayed or snapped pull cord can bring your lawn care routine to a sudden halt, but replacing it is a task most homeowners can complete in under thirty...
Fix Honda Mower Pull Cord Stuck: Easy Solutions & Troubleshooting Guide
There is a distinct sense of frustration that comes with a Honda mower pull cord stuck in the recoil position. You pull, expecting the familiar resistance that...
Easy Fix: Repair Lawn Mower Pull Cord Like a Pro
A frayed lawn mower pull cord can interrupt your weekend routine faster than you might think. Rather than immediately scheduling a service call or purchasing a...
How to Replace a Lawn Mower Cord: Easy Step-by-Step Guide
Dealing with a frayed or snapped pull cord is one of the most common and frustrating issues faced by lawn mower owners. This simple component endures...

Fix Troy Bilt Snow Blower Pull Cord: Easy Repair Guide
Few things are more frustrating on a winter morning than yanking on the pull cord of your Troy Bilt snow blower and hearing nothing but a dull thud. This...

Fix Lawn Mower Engine: Easy Step-by-Step Guide
Few things are more frustrating than heading out to mow the lawn, only to have your machine sputter and die. A non-starting engine usually stems from a simple...