How to Change a Pull Cord on a Lawn Mower: Easy Fix Guide
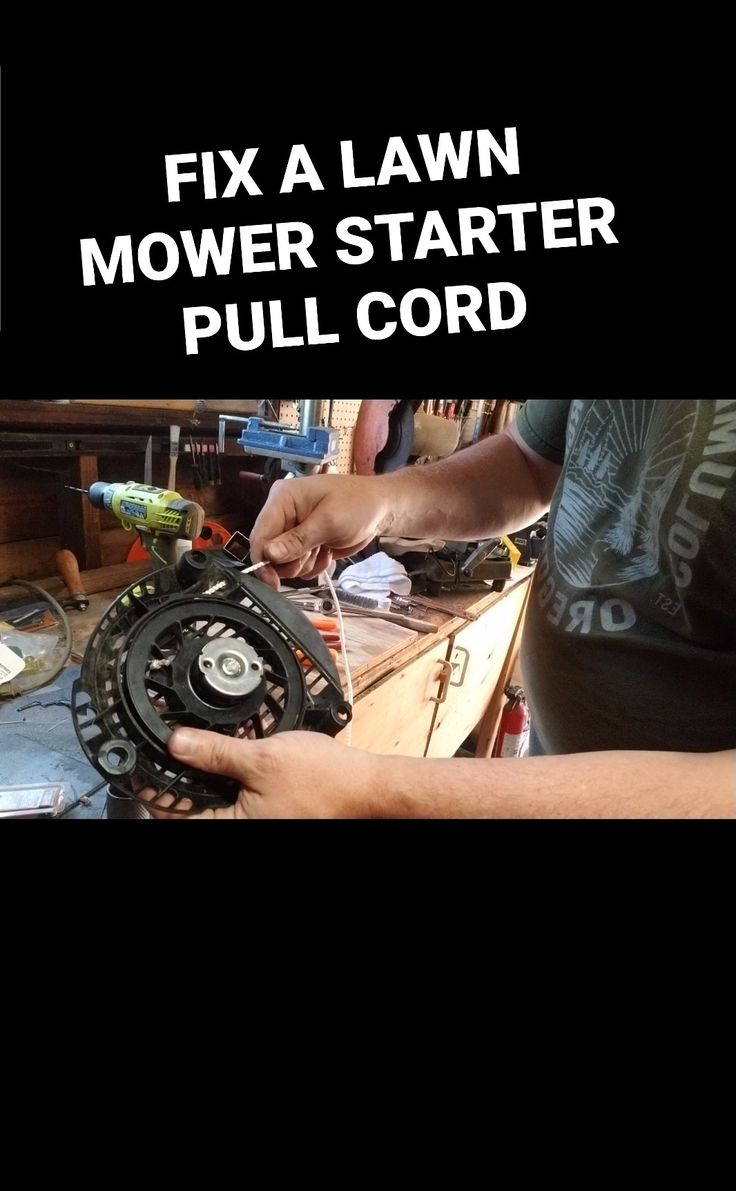
A frayed or snapped pull cord can bring your lawn care routine to a sudden halt, but replacing it is a task most homeowners can complete in under thirty minutes. This guide walks you through the exact steps to change a pull cord on a lawn mower, ensuring you restore startability without damaging the recoil mechanism. By following these instructions carefully, you will avoid the common pitfalls that lead to broken strings or difficult rewind issues.
Tools and Materials You Will Need
Before you begin, gathering the right supplies ensures a smooth process and prevents mid-job trips to the hardware store. Having everything at hand also keeps your work area organized and safe.
- Replacement pull cord (check your manual for the correct diameter and length)
- Scissors or sharp utility knife
- Socket wrench set or screwdriver (depending on your mower model)
- Needle-nose pliers
- Work gloves
- Flashlight (for inspecting the recoil housing)
Step 1: Safety First
Safety is the non-negotiable first step in any maintenance procedure. Always disconnect the spark plug wire before touching any part of the ignition system to prevent accidental starts. Place the mower on a stable, flat surface and engage the parking brake if available.


Step 2: Accessing the Recoil Housing
The recoil starter is typically protected by a removable metal or plastic cap on the side of the engine. Using the appropriate socket, carefully remove the screws or bolts securing this cover. Store the hardware in a small container so you do not lose the tiny components.
Inspecting the Old Cord
Once the cover is off, examine how the old cord is wound around the spindle and attached to the pull handle. Note the direction of the windings; installing the new cord incorrectly can cause it to tangle immediately. Take a photo or sketch the layout if it helps you remember the configuration.


Step 3: Removing the Old Cord
Use needle-nose pliers to pull the knot or clip securing the cord to the spindle apart. Carefully unwind the old string, counting the coils if you need to replicate the winding pattern. If the cord is stuck, rotating the recoil hub clockwise will loosen the tension inside the housing.
Step 4: Preparing the New Cord
Cut the new cord to the exact length specified in your mower’s manual, usually between 6 and 10 feet. Singe the cut ends briefly with a lighter to prevent fraying, but be cautious not to melt the fibers excessively, as this will make the cord brittle. Thread one end through the pull handle or grip, securing it firmly with the knot or clamp that was used originally.
Step 5: Winding the Cord onto the Spindle
This is the most critical phase of the repair. Hold the loose end of the cord and wind it tightly in the same direction as the original coils, usually clockwise. Maintain consistent tension as you wind to ensure the cord layers evenly. Leave a small amount of free cord protruding from the housing exit slot to feed through the handle.


Attaching the Handle
Once the spindle is sufficiently wound, thread the free end through the handle’s pull loop or eyelet. Pull the handle down to the base of the recoil housing to lock the tension, then secure it with the clip or knot. Ensure the mechanism retracts smoothly by giving the handle a gentle pull yourself before reassembling the housing.
Final Reassembly and Test
Place the recoil housing cover back into position and fasten the screws securely. Reconnect the spark plug wire and give the pull cord a firm yank. The string should retract neatly and smoothly. If it binds or slips, shut off the engine, disconnect the plug again, and check the winding alignment before trying again.



Related Articles
Fix Honda Mower Pull Cord Stuck: Easy Solutions & Troubleshooting Guide
There is a distinct sense of frustration that comes with a Honda mower pull cord stuck in the recoil position. You pull, expecting the familiar resistance that...
Easy Fix: Repair Lawn Mower Pull Cord Like a Pro
A frayed lawn mower pull cord can interrupt your weekend routine faster than you might think. Rather than immediately scheduling a service call or purchasing a...
How to Replace a Lawn Mower Cord: Easy Step-by-Step Guide
Dealing with a frayed or snapped pull cord is one of the most common and frustrating issues faced by lawn mower owners. This simple component endures...

Fix Troy Bilt Snow Blower Pull Cord: Easy Repair Guide
Few things are more frustrating on a winter morning than yanking on the pull cord of your Troy Bilt snow blower and hearing nothing but a dull thud. This...

Fix Lawn Mower Engine: Easy Step-by-Step Guide
Few things are more frustrating than heading out to mow the lawn, only to have your machine sputter and die. A non-starting engine usually stems from a simple...

Where to Sharpen a Lawn Mower Blade: Quick & Easy Guide
A sharp lawn mower blade is the single most overlooked component for achieving a pristine, healthy lawn. Dull blades tear the grass rather than cutting it...