Patio Furniture Refinish: DIY Guide to Renew Your Outdoor Setup
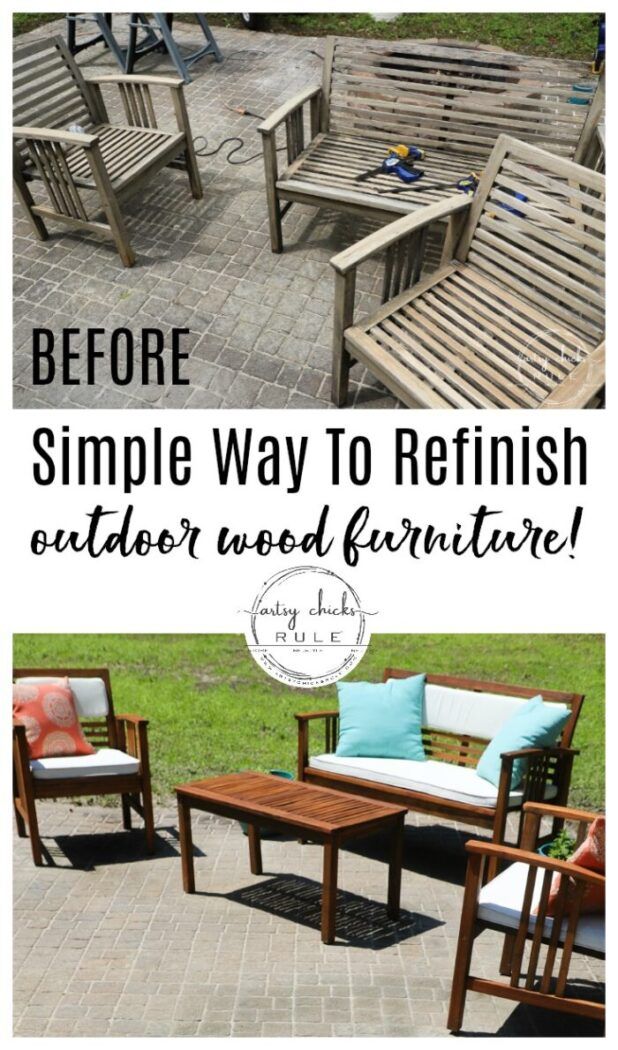
When the weather finally cooperates, there is nothing more disappointing than pulling out your patio set to find it looks faded, chipped, and tired. Rather than resigning yourself to a costly replacement, a patio furniture refinish offers a rewarding and budget-friendly solution. This process involves stripping away the damaged old finish and applying new protection that revitalizes the wood or metal, restoring the piece to its former glory.
The benefits of refinishing extend far beyond aesthetics. Exposure to harsh UV rays, relentless rain, and freezing temperatures causes the materials to deteriorate over time. By performing this maintenance, you effectively extend the lifespan of your investment, preventing rot in wooden frames and rust on metal components. This is a sustainable choice that keeps waste out of landfills and saves you hundreds of dollars compared to buying new furniture.
Preparing for the Transformation
The success of a patio furniture refinish hinges entirely on preparation. Skipping this step is the primary reason DIY projects fail, as new paint or stain will peel off if the surface is dirty or glossy. You must create a clean, dry, and slightly rough surface for the new coating to adhere to properly.


Cleaning and Sanding
Begin by cleaning the furniture with a strong mixture of dish soap and water to remove dirt, pollen, and mildew. For wooden pieces, you will need to sand the surface thoroughly. Start with a medium-grit sandpaper (around 120 grit) to remove the old finish, followed by a fine grit (220) to smooth the wood and eliminate scratch marks. If you are working with metal, use a wire brush or sandblasting to remove rust and flaking paint.
Choosing the Right Materials
Not all finishes are created equal, and selecting the correct product is crucial for durability. You must choose a finish specifically designed for outdoor use, as standard interior paints and stains will deteriorate within a season. The market offers several options, each suited to different materials and desired final looks.


| Material Type | Best Finish Options |
|---|---|
The Application Process
Once you have selected your product, work in a well-ventilated area and lay down a drop cloth to catch drips. Follow the grain of the wood when applying stain or paint, using a high-quality brush or a sprayer for an even coat. Thin coats are the golden rule here; applying too much at once leads to bubbles and uneven drying.
For painted finishes, you might need a primer specifically designed for the substrate, especially if switching from a dark color to a light one. Allow sufficient drying time between coats, checking the manufacturer's recommendations. The patience you exercise during this stage directly correlates with the professional result you achieve.
Weatherproofing and Maintenance
After the final coat has cured, the last critical step is sealing the deal with a weatherproofing agent. If you used a paint or stain that already contains a sealant, this might not be necessary. However, for raw wood or to add an extra layer of defense, a clear polyurethane or outdoor sealant is essential.


Moving forward, maintenance becomes simple. Hose down the furniture seasonally and reapply the protective oil or sealant every one to two years. By staying on top of this, your refinished patio set will continue to look stunning and protect your investment against the elements for years to come.


Related Articles
Refinish Outdoor Furniture: Revive Your Patio With Stunning New Look
Reviving tired, weathered patio sets is one of the most cost-effective ways to refresh an outdoor living space. Whether the piece is a classic Adirondack chair...

Ultimate Guide to Waterproof Your TV for Outdoor Setup
Taking your television outdoors opens up a world of entertainment, from backyard movie nights to sports gatherings under the stars. However, exposing a...

Extend Your Patio: Expert DIY Guide to Maximizing Outdoor Space
Extending your patio is one of the most effective ways to increase your home’s usable space and overall value. Instead of looking for additional square footage...

Cozy Up Your Patio: The Ultimate Guide to Thermal Outdoor Curtains
For homeowners seeking to extend their living spaces into the outdoors, thermal outdoor curtains offer a practical solution that blends comfort with style...

Perfect Outdoor Table Measurements: Size Guide for Your Patio
Selecting the right outdoor table requires precise attention to dimensions to ensure both comfort and functionality. Whether you are outfitting a cozy balcony...

The Ultimate Guide to Building Your Dream Outdoor Patio: DIY Tips & Designs
Building an outdoor patio is one of the most rewarding investments a homeowner can make, instantly elevating both the aesthetic and functional value of your...