Easy Homemade Yogurt Recipe: Probiotic-Rich & Creamy Guide
Making homemade yogurt is a rewarding process that puts you in complete control of the ingredients and flavor. Unlike store-bought versions, which often contain stabilizers and excessive sugars, homemade yogurt is a pure, probiotic-rich food that supports gut health. The process relies on a simple science: introducing beneficial bacteria into warm milk, allowing it to ferment and develop a thick, tangy texture.
At its core, the transformation is straightforward. Milk provides the protein and sugar that bacteria consume, producing lactic acid as a byproduct. This acid lowers the pH of the mixture, causing the proteins to coagulate and thicken the liquid into a creamy consistency. With a bit of patience and attention to temperature, you can create a superior product that is both economical and customizable.
Gathering Your Equipment and Ingredients
Success begins with preparation. While you can make yogurt with minimal gear, having the right tools ensures consistent results. You will need fresh milk, a starter culture, a thermometer, and a way to maintain a stable temperature.


- Milk: Full-fat dairy yields the creamiest texture, but skim or low-fat milk can also be used.
- Starter: This can be a small amount of plain, live-culture yogurt from the grocery store or a powdered starter strain.
- Thermometer: Precision is vital, as the milk must be held at specific temperatures for optimal bacterial growth.
- Incubation vessel: A glass jar or slow cooker works well for maintaining warmth.
Heating and Cooling the Milk
The first critical step is heating the milk to just below boiling. This process, known as scalding, denatures the proteins, which helps the final product set up thicker. Heat the milk slowly over medium-low heat until it reaches approximately 180°F (82°C), taking care to prevent scorching.
Once the target temperature is reached, remove the pot from the heat and allow the milk to cool down to the ideal inoculation temperature. This usually falls between 105°F and 115°F (40°C to 46°C). If the milk is too hot, it will kill the delicate bacterial cultures; if it is too cool, the fermentation will stall.


Introducing the Starter Culture
When the milk has reached the correct temperature, it is time to introduce the living cultures. Pour a small amount of the warm milk into a separate bowl with your chosen starter. Whisk this mixture gently to ensure the culture is fully dissolved and distributed evenly.
Stir this starter mixture back into the main pot of milk thoroughly. This step is crucial for activating the fermentation process. Proper mixing ensures that the beneficial bacteria are spread throughout the batch, leading to a consistent and reliable set.
Incubation and Fermentation
With the culture incorporated, the mixture needs to stay warm for several hours. The ideal environment for lactobacillus bacteria is a stable, warm temperature away from drafts. Many home cooks use a slow cooker with the lid wrapped in a towel, an oven with the light on, or a dedicated yogurt maker.


During this phase, which typically lasts 6 to 12 hours, the bacteria consume the lactose and multiply. The longer the incubation period, the tangier and thicker the yogurt will become. Resist the urge to jostle the jar, as this can disrupt the setting process and result in a thinner texture.
Chilling and Setting
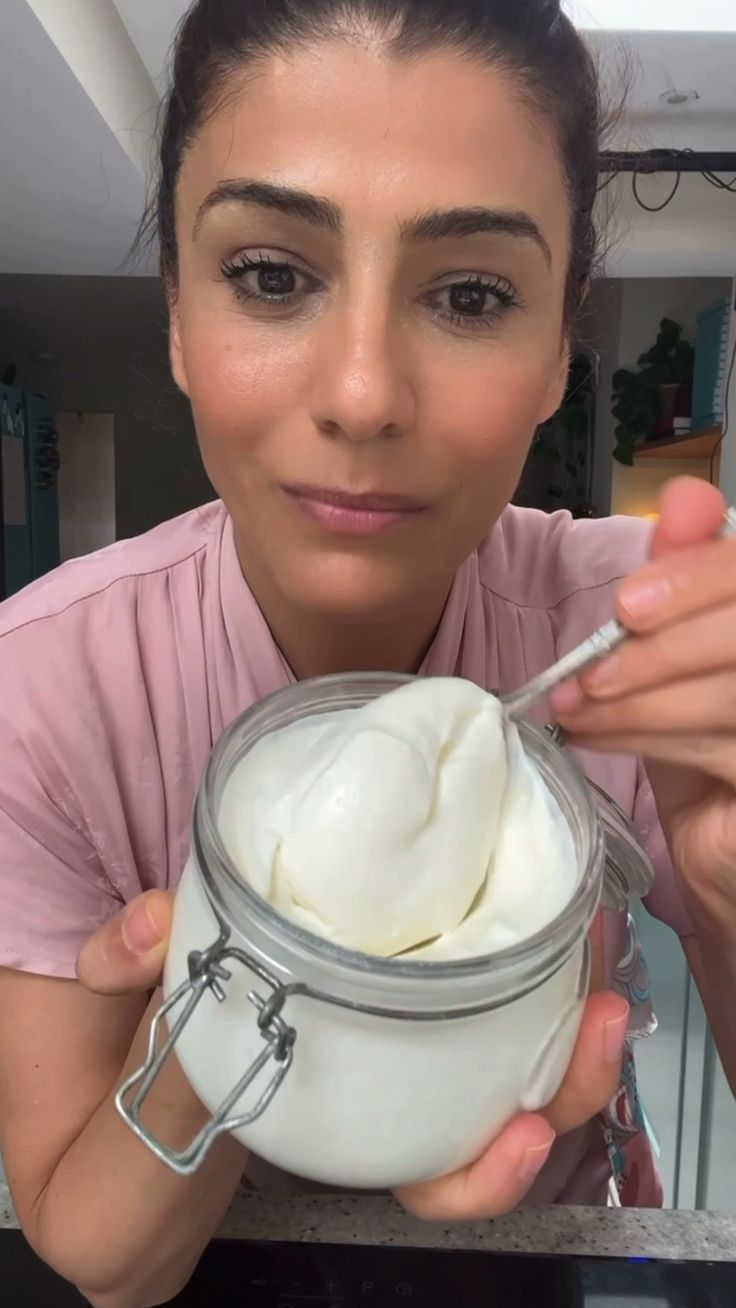
Once the fermentation is complete, the yogurt will have a custard-like consistency and a pleasant aroma. At this stage, it is safe to eat, but chilling it in the refrigerator for several hours or overnight is highly recommended. This step halts the fermentation process and allows the texture to firm up further.
Chilling also allows the flavors to mature, resulting in a more balanced and less acidic taste. For an even thicker consistency, you can line a strainer with cheesecloth, spoon the yogurt in, and refrigerate it for a few hours to drain the excess whey, creating a Greek-style yogurt.


Customization and Flavoring
One of the greatest advantages of homemade yogurt is the ability to customize it to your preferences. After the chilling process, you can mix in fresh fruit, honey, vanilla extract, or a pinch of salt. Because you control the base, you avoid the hidden sugars and artificial flavors found in commercial flavored varieties.
| Add-in | Flavor Profile |
|---|---|
| Honey and Cinnamon | Sweet and warming |
| Fresh Berries and Mint | Fruity and refreshing |
| Vanilla Bean and Maple Syrup | Rich and aromatic |
| Lemon Zest and Stevia | Tart and sugar-free |
Related Articles

Creamy Homemade Boiled Custard Recipe | Easy Step-by-Step Guide
There is a certain magic in transforming a few simple pantry staples into a dessert that feels both indulgent and comforting. Homemade boiled custard achieves...

Creamy Homemade Ice Cream with Whole Milk: Easy Step-by-Step Guide
Making ice cream with whole milk is a rewarding process that delivers a rich, creamy texture you simply cannot replicate with lower-fat dairy. This method...

Greek Garlic Yogurt Sauce Recipe: Creamy, Tangy & Easy To Make
Greek garlic yogurt sauce, or skordalia, is a cornerstone of Hellenic cuisine, celebrated for its assertive character and versatility. This emulsified marvel...

How to Make Yogurt from Fresh Milk: Easy Homemade Guide
Transforming fresh milk into creamy, homemade yogurt is a rewarding process that puts you in control of every ingredient. This ancient technique relies on a...

The Ultimate Oui Yogurt Recipe: Creamy, Tangy & Easy to Make
Creating the perfect Oui yogurt recipe at home is a rewarding experience that brings the creamy, indulgent texture of the iconic glass jars to your kitchen...

How to Make Homemade Balloons: Easy DIY Guide
Creating a homemade balloon is a straightforward process that combines simple materials with a bit of ingenuity. At its core, a balloon is a flexible bag...