Creamy Homemade Ice Cream with Whole Milk: Easy Step-by-Step Guide
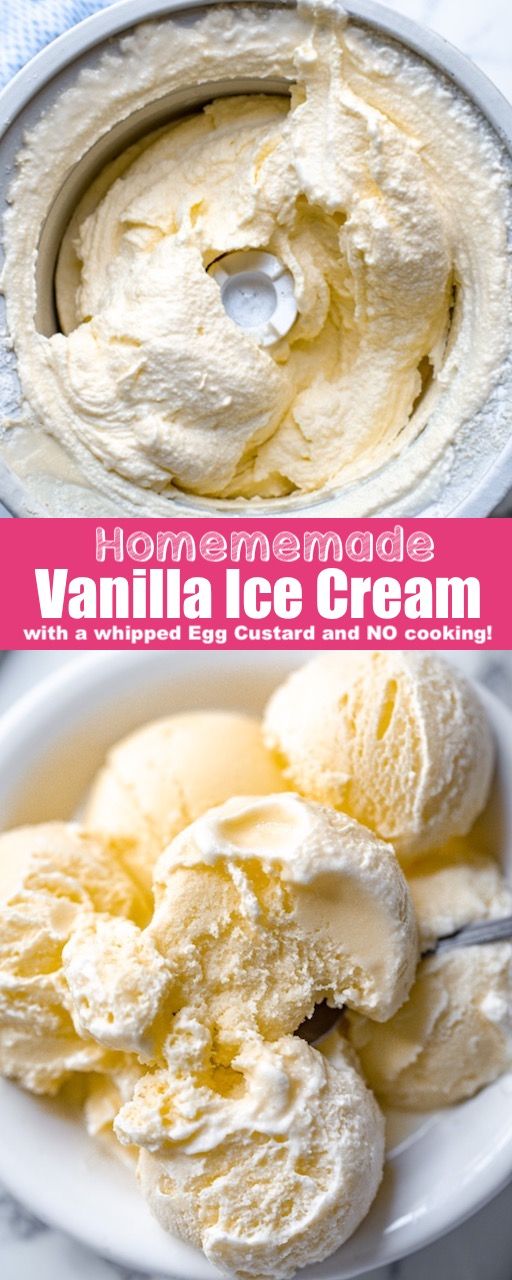
Making ice cream with whole milk is a rewarding process that delivers a rich, creamy texture you simply cannot replicate with lower-fat dairy. This method relies on the high butterfat content in whole milk to create a luxurious, dense consistency that feels indulgent with every spoonful. Unlike lighter recipes that use cream alone, this approach balances body and flavor using a base you likely already have in your refrigerator.
Before you begin, it is essential to understand the role of fat in the freezing process. Ice cream becomes hard when water molecules freeze into large ice crystals, but fat and emulsifiers help to inhibit this, resulting in a smoother, creamier product. Whole milk contains significantly more fat than skim or low-fat alternatives, which is why it serves as the ideal foundation for a home dessert that rivals premium brands.
Why Choose Whole Milk?
While heavy cream often takes the spotlight in ice cream recipes, whole milk offers a distinct advantage: balance. Heavy cream can sometimes overwhelm the palate with its intensity, whereas whole milk provides a lighter body without sacrificing creaminess. This makes it perfect for classic flavors like vanilla and chocolate, where the purity of the dairy shines through.


Additionally, using whole milk is a cost-effective way to achieve excellent results. You do not need to purchase expensive specialty dairy products to create a satisfying dessert. The accessibility of whole milk means that anyone can attempt this recipe, whether they are cooking for a family gathering or a quiet night in.
Core Ingredients and Equipment
Success begins with quality ingredients. To make ice cream using whole milk, you will need the following core components:


- Whole Milk: Provides the necessary fat and protein structure.
- Heavy Cream: While the base is milk, a touch of cream enhances the richness and ultra-smooth texture.
- Sugar: Sweetens the mixture and lowers the freezing point, preventing iceiness.
- Egg Yolks: Act as natural emulsifiers and create a velvety, custard-like consistency.
- Vanilla Extract: Adds depth and a classic aroma to the final product.
On the equipment side, you will require a sturdy mixing bowl, a whisk, a heavy-bottomed saucepan for heating, and an ice cream maker. The saucepan is critical for gently heating the mixture, while the ice cream maker is responsible for churning the mixture to the perfect consistency.
The Science of the Custard Base
The secret to exceptionally creamy ice cream often lies in a cooked custard base. This involves tempering egg yolks with hot milk to create a thick, stable mixture. The proteins in the yolks coagulate gently when heated, transforming the liquid into a rich, pudding-like substance that will set beautifully in the freezer.
| Step | Action |
| 1. | Whisk egg yolks and sugar together until pale and thick. |
| 2. | Heat the whole milk and cream until steaming but not boiling. |
| 3. | Slowly whisk the hot milk into the yolks to temper them. |
| 4. | Return the mixture to the pan and cook until it coats the back of a spoon. |
The Chilling Phase
Patience is a vital component of this recipe once the cooking is complete. It is absolutely critical to let the custard base cool completely before transferring it to the freezer or ice cream maker. Placing a warm mixture directly into a cold machine can damage the equipment and result in a grainy texture.


To expedite the cooling process, you can transfer the mixture to a shallow bowl set inside a larger bowl filled with ice. Stir the mixture occasionally until it reaches room temperature. Cover the bowl tightly with plastic wrap to prevent a skin from forming on the surface, and refrigerate for at least four hours, or preferably overnight, to allow the flavors to meld fully.
Churning and Freezing
Once the base is thoroughly chilled, pour it into your ice cream maker and churn according to the manufacturer’s instructions. The churning process incorporates air into the mixture, which prevents large ice crystals from forming and creates the soft-serve texture you desire. Depending on the density of your machine, this usually takes between 20 and 30 minutes.
After churning, the ice cream will be quite soft and pliable. For a firmer texture that holds its shape, transfer the dessert to a lidded container and freeze for a minimum of two hours. This final step ensures that the ice cream sets properly and is ready to scoop beautifully when served to guests.




Related Articles

Creamy Homemade Boiled Custard Recipe | Easy Step-by-Step Guide
There is a certain magic in transforming a few simple pantry staples into a dessert that feels both indulgent and comforting. Homemade boiled custard achieves...

Ultimate Guide to Making Caramels with Condensed Milk: Easy Recipe Tips
There is a certain alchemy involved when you learn how to make caramels with condensed milk. The process transforms a humble, shelf-stable can of milk into a...

Creamy Whole Milk Yogurt: The Ultimate Guide to Rich & Healthy Probiotics
Whole milk yogurt represents a return to foundational principles in dairy production, offering a product that is as close to the source as commercial...

How to Make a T-Shirt Quilt with Borders: Step-by-Step Guide
Creating a t-shirt quilt with borders is a meaningful way to preserve memories. This project transforms your favorite old garments into a cohesive and...

How to Make Homemade Balloons: Easy DIY Guide
Creating a homemade balloon is a straightforward process that combines simple materials with a bit of ingenuity. At its core, a balloon is a flexible bag...

Cute Baby Headwrap Bow Tutorial: Easy Step-by-Step Guide
Creating a baby headwrap, often called a bow or bonnet, is a rewarding project that combines practicality with charm. This simple accessory keeps a baby's hair...