Turning Trash into Treasure: DIY Olla Irrigation from Plastic Bottles
For gardeners seeking a simple yet effective solution to consistent watering, making ollas from plastic bottles presents an elegant answer. This ancient technique, modernized with readily available materials, allows for deep, infrequent watering that promotes robust root development. By transforming discarded containers into efficient irrigation tools, you conserve water while fostering healthier plants. This method is particularly valuable for container gardens, raised beds, and areas with limited water access.
The Science Behind Olla Irrigation
Ollas function on the principle of capillary action and soil moisture tension. When buried in the ground, the porous container (in this case, a modified plastic bottle) holds water that slowly seeps out through its walls directly to the roots of nearby plants. The soil essentially acts as a semi-permeable membrane; water moves from the area of higher pressure inside the olla to the lower pressure in the surrounding drier soil. This steady supply prevents the extreme wet-dry cycles that can stress plant roots and hinder growth, leading to more uniform development and greater resilience.
Why Choose Plastic Bottles?
Utilizing plastic bottles for this project offers distinct advantages over traditional clay or ceramic ollas. Plastic is lightweight, shatter-resistant, and inexpensive, making the process accessible to a wider audience. Furthermore, it provides an effective upcycling solution, diverting waste from landfills and giving single-use items a second, productive life. The inherent versatility of plastic allows for easy customization to suit various garden sizes and aesthetic preferences without the fragility associated with ceramic alternatives.


Step-by-Step Construction Process
Creating your own ollas requires minimal tools and is a straightforward project for any skill level. The core steps involve selecting suitable bottles, preparing them for burial, and ensuring a reliable water source. Success hinges on attention to detail during the assembly phase to guarantee a slow and consistent release of water without creating surface puddles.
Materials and Tools You Will Need
- Two identical large plastic bottles (such as 1-gallon jugs) with screw-on lids
- A drill with various small-sized bits
- Fine-grit sandpaper
- Waterproof sealant (optional but recommended for longevity)
- Scissors or a utility knife
- Shovel for burial
Assembly and Preparation
The process begins by thoroughly cleaning the bottles and removing any labels. Drill numerous small holes across the bottom and lower sides of one bottle, which will serve as the water reservoir. The second bottle is cut in half; the top portion (including the neck) is inverted and placed inside the bottom half to create a stable base and funnel for refilling. Secure the lid on the reservoir bottle tightly. For improved durability, especially with prolonged sun exposure, applying a sealant around the lid and any drilled holes is advisable before burying the unit.


Strategic Placement and Usage
The effectiveness of your DIY ollas is largely determined by where they are positioned. Bury them close to the root zones of the plants you wish to water, ensuring the open side is in direct contact with the soil. Leaving the neck exposed above the ground makes refilling effortless. It is crucial to firm the soil around the olla to eliminate air pockets, as these can cause water to escape too rapidly to the surface rather than feeding the roots.
Maintenance and Long-Term Care
Regular maintenance ensures optimal performance and prevents clogging. Periodically check the ollas for algae growth or mineral buildup, especially in hard water areas. Clean the reservoirs every few weeks by unscrewing the lid and using a bottle brush. Monitor the water level and refill as needed, typically once a week or more frequently during peak heat. If you notice a sudden drop in water delivery, inspect the porous surface for debris and rinse thoroughly to restore capillary action.


Related Articles

Recycling Plastic Bottles: Eco-Friendly Tips to Turn Trash into Treasure
Every day, millions of plastic bottles are consumed worldwide, providing convenience but leaving a lasting environmental footprint. From a discarded water...

Creative DIY Upcycling Projects: Transform Trash into Treasure Today
DIY upcycling projects transform forgotten objects into purposeful pieces, bridging the gap between creativity and sustainability. Rather than viewing...

Light Shade Ideas: Transforming Whiskey Bottles Into Chic Décor
Transforming the amber glow of whiskey into a spectrum of light is an art form that marries cocktail culture with interior design. The rich, deep tones of...

Profitable Pallet Projects: 15 Lucrative DIY Ideas to Turn Trash into Treasure
For businesses looking to optimize their supply chain and reduce waste, profitable pallet projects represent a significant opportunity. These initiatives...

Creative Upcycling Tin Cans Ideas: Transform Trash Into Treasure
Upcycling tin cans transforms a mundane household item into a statement of creativity and sustainability. Instead of viewing these containers as disposable...
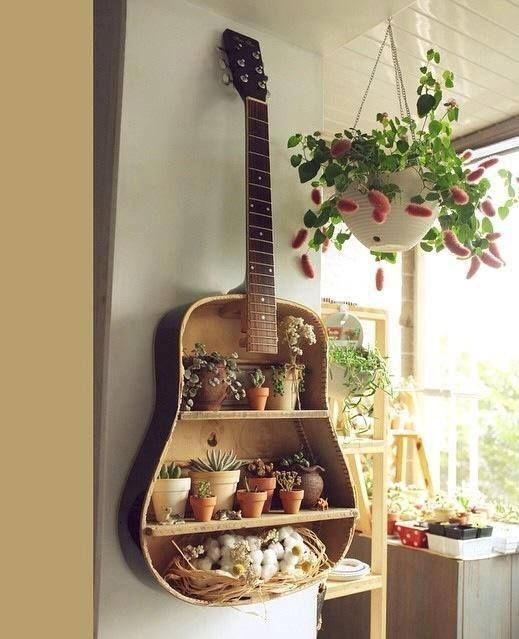
Creative Upcycle Art Ideas: Transform Trash into Treasure Today
Transforming discarded materials into striking pieces of art is more than a trend; it is a powerful movement that reconnects us with the objects we often...