Ultimate Guide to Sealing Clay Pots for Painting: Expert Tips
Sealing clay pots for painting is a foundational step that separates a casual craft project from a durable, professional finish. Without proper preparation, paint can cling unevenly to the porous surface, leading to cracking, peeling, or a dull appearance that fails to last. This process, often referred to as sealing or priming, creates a stable barrier that ensures adhesion and vibrancy.
Why Sealing is the Critical First Step
Clay is inherently porous, acting like a sponge that can absorb water and oils. If you apply paint directly to this thirsty surface, the clay will pull the moisture out of the paint, causing it to dry too quickly and result in a rough, streaky texture. Sealing fills the microscopic pores of the clay, creating a smooth and consistent substrate. This not only improves the aesthetic outcome but also protects the pot from moisture damage once the paint is applied, making the final piece suitable for both indoor and outdoor environments.
Assessing Your Pot’s Current State
Before you begin, you must evaluate the condition of your pot. If the clay is raw and un-fired, it is extremely porous and requires a heavy-duty sealer. However, if the pot has already been kiln-fired and has a glassy glaze, it may not require sealing at all—paint usually adheres well to glazed surfaces. Check for any existing cracks or rough spots; these imperfections will show through any topcoat, so filing them down or filling them with spackle is essential before moving to the sealing phase.


Choosing the Right Sealant
The market offers a variety of sealants, and choosing the wrong one can compromise your project. For raw clay, a gesso primer is often the best choice because it provides a slightly gritty surface that is perfect for holding paint. For projects that require flexibility, especially if the pot will be moved frequently or is subject to temperature changes, a high-quality acrylic polymer medium is ideal. These products cure to form a flexible, non-yellowing film that protects the clay without becoming brittle over time.
Recommended Products for Different Surfaces
- Raw Clay: Acrylic gesso or a dedicated clay sealer.
- Glazed or Stoneware: Acrylic polymer medium (e.g., matte or gloss varnish).
- Outdoor Exposure: Epoxy sealer or polyurethane for maximum durability.
Application Techniques for a Smooth Finish
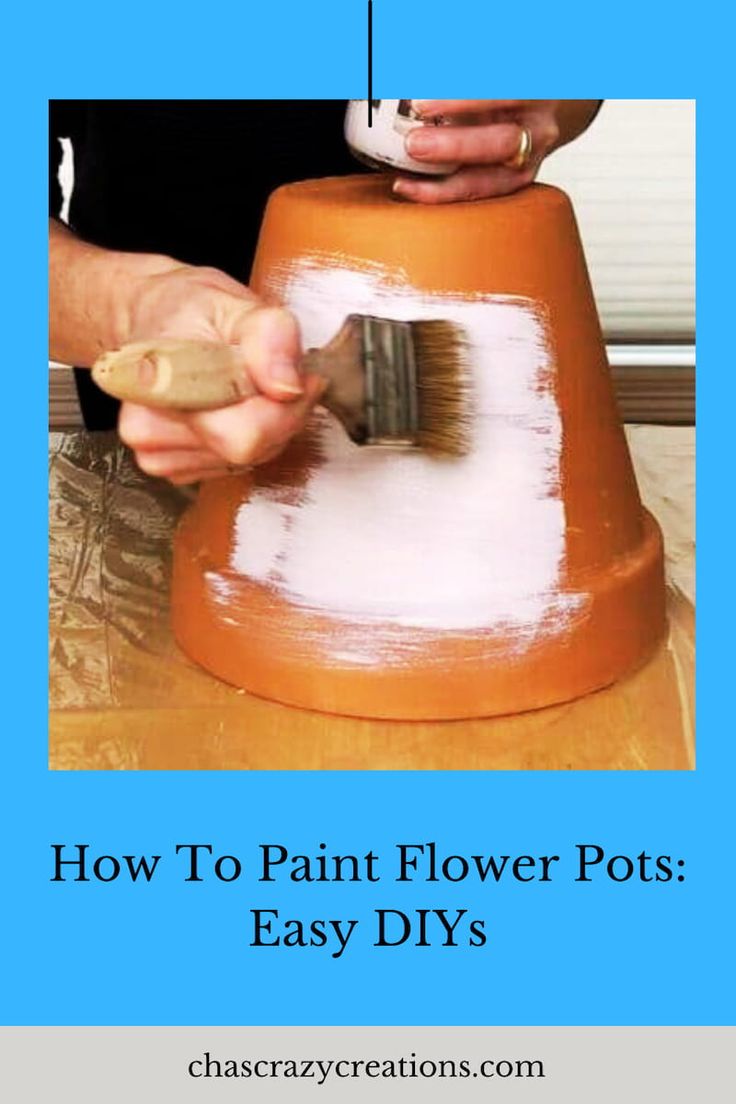
Application method plays a significant role in the final texture of the sealed surface. For gesso, use a wide, soft-bristle brush and apply thin, even coats, working in the direction of the grain if the pot has one. Avoid applying too much product at once, as this can lead to drips and bubbles. If you are using a spray sealer, ensure you are in a well-ventilated area and hold the can at a consistent distance to achieve an opaque, even layer without pooling.


Drying and Re-coating Protocols
Patience is vital during the sealing process. Clay sealers typically require a specific curing time to achieve maximum adhesion. Rushing this step can trap moisture beneath the sealant, causing it to bubble or peel later. Always follow the manufacturer’s instructions regarding drying times; generally, a minimum of 24 hours is required before applying a second coat or beginning the painting process. Sanding lightly between coats with fine-grit sandpaper can also help achieve a gallery-quality smoothness.
Troubleshooting Common Sealing Issues
Even experienced crafters encounter obstacles. If you notice a sealer refusing to adhere or forming a sticky, rubbery layer, it is likely due to residual dust or oils on the clay surface. Standard remedies include washing the pot with mild soap and water or lightly sanding the surface with sandpaper. If "blooming" occurs—where a white, chalky residue appears—it indicates that moisture is pushing minerals through the sealant; this requires stripping the sealer and starting the process with a moisture-wicking base coat.
Finalizing the Surface for Painting
Once the sealant is fully cured and the surface is smooth to the touch, your pot is ready for the creative phase. You can now proceed with acrylics, oils, or other paints with the confidence that the color will remain vibrant and the pot will endure handling. Remember, sealing is not just about creating a barrier; it is about unlocking the full potential of the clay, allowing your artistic vision to be realized in the most vivid and long-lasting way possible.


Related Articles

The Ultimate Guide to Sealing Granite Countertops: Expert Tips & Best Practices
Granite countertops are a cornerstone of modern kitchens, offering an unmatched combination of durability, heat resistance, and timeless beauty. However, their...

The Ultimate Guide to Sealing Your Bathroom Floor: Expert Tips & DIY Solutions
Sealing a bathroom floor is a foundational step in protecting your home from water damage, mold growth, and the premature deterioration of your tiling work. A...

The Ultimate Guide to Sealing Cedar: Expert Tips for Long-Lasting Protection
Cedar is a beloved wood for outdoor projects, from decks and siding to furniture and fencing, thanks to its natural beauty, durability, and insect resistance...

The Ultimate Guide to Sealing Your Patio: Expert Tips & Techniques
Sealing a patio is one of the most effective ways to protect your outdoor investment, preserving its structural integrity and visual appeal against the...

The Ultimate Guide to Sealing Backsplash: Expert Tips & Tricks
Sealing a backsplash is not just a final touch; it is a critical step that protects your investment from the daily assault of moisture, stains, and grime...

The Ultimate Guide to Sealing a Wood Deck: Expert Tips for Stain Protection
Sealing a wood deck is the single most effective step you can take to protect your investment and extend its life. Without a proper finish, the wood is exposed...