How to Replace Tub Faucet Cartridge: Easy DIY Steps
A faulty tub faucet cartridge is often the culprit behind persistent leaks, inconsistent water temperature, and reduced water pressure. Replacing this internal component is a practical and cost-effective solution that can restore your bathtub’s functionality without the need for a full fixture replacement. This process requires a methodical approach, the right tools, and a bit of patience to ensure a proper seal and long-term performance.
Before beginning any repair, it is essential to understand the role of the cartridge within your faucet assembly. This component is responsible for controlling the flow and temperature of water by directing it through specific channels. Over time, mineral deposits, rubber washers, and general wear can cause the cartridge to degrade, leading to the common issues homeowners face. Identifying the problem as a cartridge failure is the first step toward a successful repair.
Preparation and Safety Measures
Safety and preparation are the cornerstones of a successful faucet repair. Working with plumbing fixtures involves dealing with residual water pressure and sharp edges, so taking the correct precautions is non-negotiable. Rushing into the project without the right setup can lead to damaged components or personal injury, extending the repair time significantly.


- Turn off the main water supply to the bathtub or the entire house if specific valves are not available.
- Open the faucet handles fully to drain any remaining water from the pipes and prevent surprise splashes.
- Use a towel or basin to catch residual water and protect the finish of your tub and flooring.
- Keep the manufacturer’s instructions or model number handy to ensure you purchase the correct replacement part.
Removing the Faucet Handle and Trim
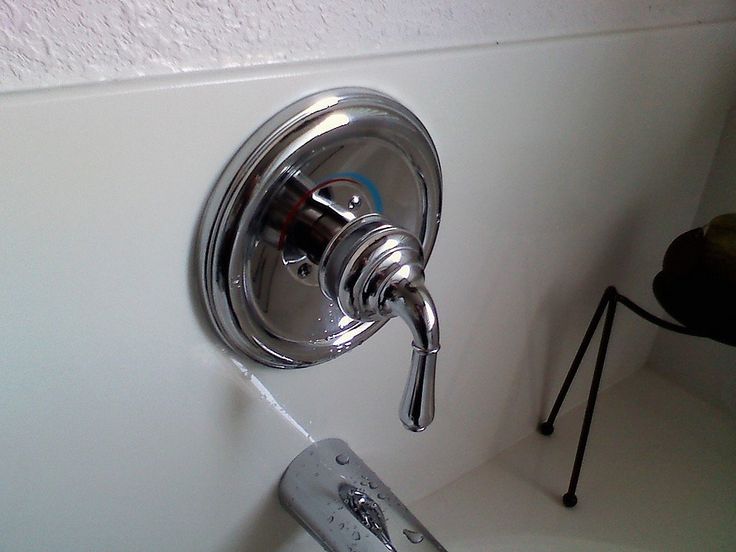
Accessing the cartridge requires disassembling the visible parts of the faucet, starting with the handle. Most modern tub faucets feature a set screw located either under a decorative cap on the handle or at the base of the stem. Removing this screw allows the handle to lift off, revealing the stem assembly.
Once the handle is removed, you will typically see a retaining nut or clip securing the cartridge in place. Using the appropriate wrench, carefully loosen this nut. It is crucial to support the cartridge stem while turning the nut to prevent the entire assembly from twisting and damaging the valve body. Gentle force and steady pressure are the keys to avoiding complications during this stage.


Inspecting and Comparing the Old Cartridge
Before discarding the old cartridge, you should inspect it to understand the root cause of the failure. Look for cracked ceramic discs, worn washers, or significant mineral buildup. These details are vital when shopping for a replacement, as they confirm the exact specifications required for your fixture.
>Cracks or chips >Excessive wear or pitting >Mineral deposits or debris| Component | Condition to Look For | Action Required |
|---|---|---|
| Cartridge Body | Immediate replacement | |
| Stem/Washers | Replace with new kit | |
| Inlet Ports | Clean thoroughly or replace |
Installing the New Cartridge
With the old component removed and the area cleaned, you are ready to install the new cartridge. Precision is critical here; even a slight misalignment can cause the faucet to leak immediately upon reassembly. Dry-fit the new cartridge into the valve body without the retaining nut to ensure it slides into place smoothly.
Most replacement kits come with a manufacturer’s recommendation regarding orientation. Typically, there is a specific side that must face upward or align with a mark inside the faucet body. Double-check this detail before applying the retaining nut. When tightening the nut, hand-tighten first to ensure proper alignment, then use your wrench to secure it firmly—usually about a quarter turn past hand-tight.


Reassembly and Water Test
Reassembling the faucet is essentially the reverse of the removal process. Place the stem back into position, replace the handle, and tighten the set screw until the handle feels secure but not overly strained. Turning the handle during installation can help seat the cartridge correctly within the flow channels.
Once everything is back in place, slowly turn the main water supply back on. Allow the water to flow gradually to purge any air from the lines. Check the handles for smooth operation and observe the base of the faucet for any signs of dripping. If leaks persist, you may need to slightly adjust the retaining nut or inspect the washers one more time.




Related Articles

How to Replace Kitchen Faucet Gasket: Easy Step-by-Step Guide
Few household maintenance tasks are as frustrating than a persistently leaky kitchen faucet. That steady drip, drip, drip not only wastes water and drives up...

How to Remove a Cartridge from Your Kitchen Faucet: Easy Step-by-Step Guide
Removing the cartridge from a kitchen faucet is often the decisive step in solving a persistent leak or restoring full water control. While it might seem like...

How to Replace a Kitchen Faucet Washer: Easy Step-by-Step Guide
A persistent drip from your kitchen faucet is more than an annoyance; it wastes water and can stain your sink. The good news is that the most common cause of...

The Ultimate Guide to How to Replace a Toilet Seat: Easy Steps & Tips
Few home maintenance tasks are as universally encountered yet intimidatingly overlooked as replacing a toilet seat. Whether you are a new homeowner, a seasoned...

How to Replace a Bathroom Faucet Stem: Easy DIY Guide
A dripping or stiff bathroom faucet is often more than a minor annoyance; it is a clear indicator that a specific internal component is failing. The stem...

How to Replace a Yard Hydrant: Easy DIY Steps & Tips
Few tasks underscore the quiet confidence of home maintenance like the decision to replace a yard hydrant. This critical point of access for seasonal watering...