How to Remove Scuff Marks from Vinyl Flooring: Easy DIY Tips
Vinyl flooring is celebrated for its durability and affordability, but it is not impervious to the everyday wear and tear of household life. One of the most common and frustrating issues homeowners face is the appearance of stubborn scuff marks. These blemishes are often caused by the friction of chair legs, dragged furniture, or the abrasive action of dirt and grit trapped underfoot. While they may look permanent, the vast majority of scuff marks are surface-level and can be removed effectively without the need for harsh chemicals or professional intervention. With the right techniques and a little patience, you can restore your vinyl flooring to its original, pristine condition.
Understanding the Enemy: What Are Scuff Marks?
Before diving into the removal process, it helps to understand what you are dealing with. Scuff marks are distinct from deep scratches or gouges; they are superficial abrasions on the topmost layer of the vinyl wear layer. This layer is designed to provide resistance, but it is not foolproof. Unlike stains, which involve a substance soaking into the material, scuffs are simply tiny surface abrasions that disrupt the smooth finish. The good news is that because they do not penetrate the core of the plank, they are often much easier to address. Identifying the type of mark on your floor is the critical first step in selecting the most effective removal method.
The Gentle Approach: Soap and Water
You should always start with the mildest solution, as it poses the least risk to your flooring's finish. In many cases, a simple mixture is all that is required to lift fresh scuff marks that have not yet set deeply into the vinyl. This method is safe for all types of flooring, including luxury vinyl plank (LVP) and tile, because it avoids introducing any abrasive elements or solvents. The goal here is to clean the surface thoroughly before attempting more aggressive tactics.


Materials You Will Need:
- Warm water
- Dish soap (a mild, grease-fighting variety)
- Two clean microfiber cloths or sponges
- A soft-bristled brush (optional, for textured surfaces)
Begin by mixing a few drops of dish soap into a bucket of warm water. Dip one cloth into the solution and wring it out until it is damp but not dripping wet. Gently rub the scuff mark using a circular motion. The detergent helps to break down any surface grease or dirt that may be contributing to the mark's visibility. Rinse the area thoroughly with a clean, damp cloth to remove any soap residue, and dry the floor immediately with a towel. Drying is essential, as lingering moisture can sometimes damage the adhesive beneath loose sheet vinyl.
Tackling Stubborn Scuffs with Baking Soda
If the gentle wash proves ineffective, it is time to introduce a mild abrasive. Baking soda is a perfect intermediate solution; it is gentle enough not to damage the vinyl but abrasive enough to lift more ingrained scuff marks. This common household item acts as a gentle polishing agent, effectively buffing away the top layer of discoloration without stripping the protective coating of the floor. This method is particularly effective for scuffs that have oxidized or become stained over time.


Materials You Will Need:
- Baking soda
- Water (to create a paste)
- Soft cloth or sponge
- Plastic scraper or old credit card (for lifting residue)
Create a thick paste by mixing baking soda with a small amount of water. Apply the paste directly to the scuff mark and let it sit for approximately one to two minutes. This allows the mild alkali to break down the grime. Using a soft cloth, gently rub the paste over the mark in the direction of the flooring's grain or in small circular motions. You should feel a slight resistance as the paste works to buff the surface. Once the mark has faded, use a damp cloth to wipe away the residue and dry the area thoroughly.
Dealing with Set-In Marks: The Eraser Method
For older, more stubborn scuff marks that have settled into the grooves of the vinyl, a simple rubber eraser can be remarkably effective. These pencils of rubber work by lifting the top layer of the scuff through friction and adhesion, essentially rolling the mark away rather than scrubbing it away. This method is ideal for high-traffic areas like hallways or entryways where scuffs are common but are not the result of heavy impact. It requires minimal effort and involves no chemicals that could potentially discolor the floor.
Materials You Will Need:
- White vinyl eraser (the softer the better)
- Clean, dry cloth
First, ensure the area is clean and dry. Take the white eraser and firmly rub it back and forth over the scuff mark. You do not need to press excessively hard; the friction generated is usually sufficient. As you rub, you will likely see a fine dust accumulating on the eraser—that is the abraded vinyl transferring from the floor to the rubber. Periodically wipe the eraser clean on a cloth to expose fresh rubber. Continue this process until the scuff mark disappears. Afterward, wipe the area with a damp cloth to remove any eraser residue.


Advanced Cleaning: Magic Erasers and Melamine Foam
For the most difficult scuff marks, you may need to employ a tool specifically designed for micromelting surfaces: a melamine foam eraser, often marketed as a "Magic Eraser." These products are made of ultra-fine foam that behaves like very high-grit sandpaper. They work by physically breaking down the scuff at a microscopic level. While highly effective, they should be used with caution on vinyl flooring. Because they remove a thin layer of the surface with each swipe, they can dull the finish if used too aggressively or too frequently. Reserve this method for the worst offenders and always test in an inconspicuous area first.
Materials You Will Need:
- Melamine foam eraser (Magic Eraser or generic brand)
- Warm water
- Soft microfiber cloth
Lightly dampen the melamine eraser with warm water; it should be moist but not soaked. Gently wipe the scuff mark with very light pressure. You will notice the eraser quickly picks up dirt and begins to clean the mark. However, you must watch the finish closely. If you notice the shine of the vinyl diminishing in the area you are cleaning, you are rubbing too hard or too long. Immediately after using the eraser, buff the area with a clean, damp cloth to restore sheen. Avoid using these erasers on waxed or oiled vinyl surfaces, as they will strip the finish.
Prevention and Maintenance Strategies
Once you have successfully restored your floors, the logical next step is to prevent the scuffs from returning. Prevention is significantly easier than removal and will save you time and effort in the long run. The key to protecting your vinyl flooring lies in managing the variables that cause friction. This involves controlling the environment of your home, from the items you place on the floor to the way you clean it.


- Use felt pads and rugs: Place felt pads under the legs of all furniture, especially chairs and tables. These pads distribute the weight of the furniture and prevent the legs from directly dragging across the surface. In high-traffic areas, use welcome mats to trap dirt and grit before it reaches the vinyl.
- Implement a no-shoe policy: Dirt particles from outdoors act like sandpaper on your floor. Encouraging residents and guests to remove their shoes at the door is one of the most effective ways to reduce general surface abrasion.
- Clean regularly: Sweep or vacuum frequently to remove abrasive debris. Follow up with a damp mop using a cleaner specifically designed for vinyl. A clean floor is less likely to show scuffs because the surface is free of particles that would grind against the vinyl during movement.
When to Call a Professional
While DIY methods are highly successful for the majority of scuff marks, there are scenarios where professional help is the best course of action. If you have tried the gentle abrasion methods and the mark remains, it is possible that the damage has penetrated deeper than the wear layer into the core of the vinyl. In these cases, the mark might be a dent or a stain rather than a simple scuff. Additionally, if your floor has a fragile matte finish or a historic wax coating, aggressive cleaning methods could cause irreversible damage. A professional flooring contractor has access to commercial-grade refinishing tools and materials that can level the surface or apply a fresh topcoat, effectively erasing years of damage in a single visit.
Related Articles

How to Remove Pencil Marks from Painted Walls – Easy Cleaning Tips
Accidentally leaving a pencil mark on a freshly painted wall is a common mishap that happens to the best of us. Whether it is from a child’s drawing session or...
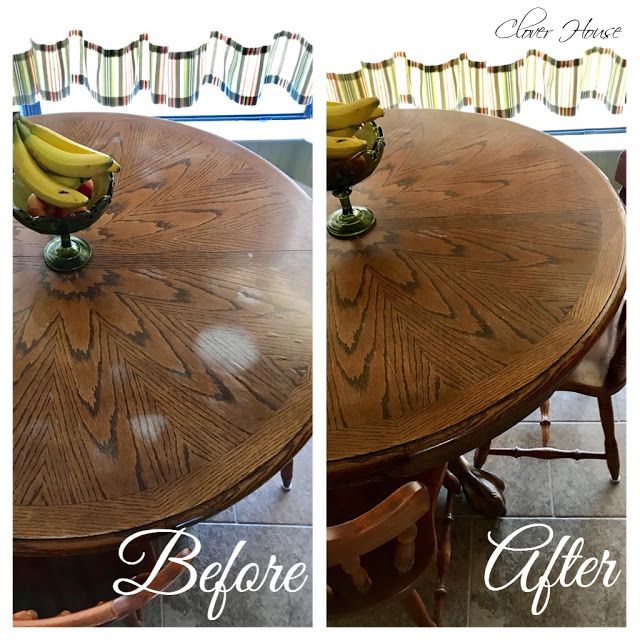
How to Remove Heat Marks from Wood Table: Easy Fixes & Prevention Tips
Few things are as frustrating as discovering a heat mark on table surface, an unsightly blemish that tells a story of a hot coffee cup or a forgotten serving...

How to Remove Water Stains from Wood Table: Easy DIY Solutions
Water marks on a wood table are an inevitable part of daily life, caused by condensation from cold glasses or the heat of a hot coffee mug. While they may seem...

How to Remove Vinyl Tile from Concrete: Easy DIY Guide
Removing vinyl tile from concrete is a demanding but entirely achievable task. Whether you are preparing a basement for a new finish, renovating a commercial...
How to Remove Vinyl Tiles from Concrete Floor: Easy DIY Guide
Removing vinyl tiles from a concrete floor is a project that demands patience, the right tools, and a methodical approach. Whether you are preparing the...

Remove Melted Fabric from Iron: Easy Fixes & Tips
A melted fabric disaster on your iron is more than an inconvenience; it is a sticky, smoky challenge that threatens to turn your essential pressing tool into a...