The Ultimate Guide to Painting Terra Cotta: Expert Tips & Stunning Results
Terra cotta’s warm, earthy tones have long made it a favorite for plant pots, garden ornaments, and rustic tableware. Yet that charming, porous finish is vulnerable to cracking, fading, and moisture damage without a thoughtful finishing approach. Painting terra cotta the right way transforms these everyday items into vivid, weather-ready pieces that hold color season after season.
Before picking up a brush, it helps to understand what makes terra cotta tricky to paint. The clay surface is highly absorbent and slightly uneven, which causes paint to grab in some spots and slide in others. Add exterior temperature swings, direct sun, and regular watering, and you can see why a haphazard paint job rarely lasts. Proper surface prep, the right primers and paints, and careful curing are the foundation of a finish that looks great and stands up to the elements.
Preparing the Terra Cotta Surface
Skipping prep is the fastest way to waste time and supplies, so treat this stage as the most important part of the project. A clean, dry, and slightly textured surface gives paint something to grip, reducing the chance of peeling and streaking.


Cleaning and Drying
Dust, mineral deposits, and old mold can block paint adhesion. Start by brushing off loose debris, then wash the piece with mild soap and warm water. For stubborn residue, a diluted solution of water and white vinegar works well without damaging the clay. Rinse thoroughly and let the item air dry until no cool dampness remains when you touch its underside, which can take a day or more depending on thickness and humidity.
Light Sanding and Repairs
Lightly sanding with fine-grit paper smooths rough patches and helps new paint bond evenly. Focus on glossy factory spots or any flaking areas, then wipe away the dust with a barely damp cloth. If you notice hairline cracks, fill them with a clay-friendly filler or a flexible mortar mix, let it dry, and sand again. Small chips on rims or edges are worth fixing too, since they can catch moisture and worsen over time.


Choosing the Right Paints and Tools
Not all paints are created equal when it comes to adhering to porous clay, especially if the finished object will live outdoors.
| Paint Type | Best For | Key Features |
|---|---|---|
| Acrylic Craft Paint | Indoor decor, small items | Easy to use, wide color range, good coverage |
| Acrylic Exterior Paint | Outdoor planters, garden accents | UV-resistant, flexible, weatherproof |
| Stain-Blocking Primer | Raw or unsealed clay, preventing streaks | Seals pores, improves topcoat adhesion |
| Oil-Based or Hybrid Exterior Paint | High-durability outdoor features | Long-wearing, tough against abrasion |
Beyond paint, gather a small selection of quality brushes (angled trim brushes for edges, small rounds for details), a soft foam roller for larger flats, painter’s tape for crisp lines, and a reliable drop cloth. For projects that will sit outdoors, a masonry or bonding primer that grips slick clay dramatically increases longevity.
Priming for Success
Terra cotta drinks moisture quickly, which can cause paint to dry too fast and trap brush marks. A primer formulated for porous surfaces slows absorption, promotes uniform color, and reduces the number of topcoats you’ll need.


- Apply an even, thin coat with a brush or roller, following the natural shape of the piece.
- Let the primer dry fully before adding color, checking the label but usually waiting at least two hours.
- Lightly inspect under good light; any pale spots or primer showing through are your cues for another thin layer.
Painting Techniques That Deliver Professional Results
How you apply the paint is just as important as what you use. Controlled, deliberate moves minimize drips, brush strokes, and patchiness.
Brushwork for Detail
For intricate patterns, edges, and small terra cotta pieces, a firm, synthetic-bristle brush gives precise control. Use light, consistent strokes and reload the brush often to avoid streaking. Load the brush well, tap off excess, and work in manageable sections so the paint remains wet long enough to blend slightly at the edges.
Rolling for Larger Surfaces
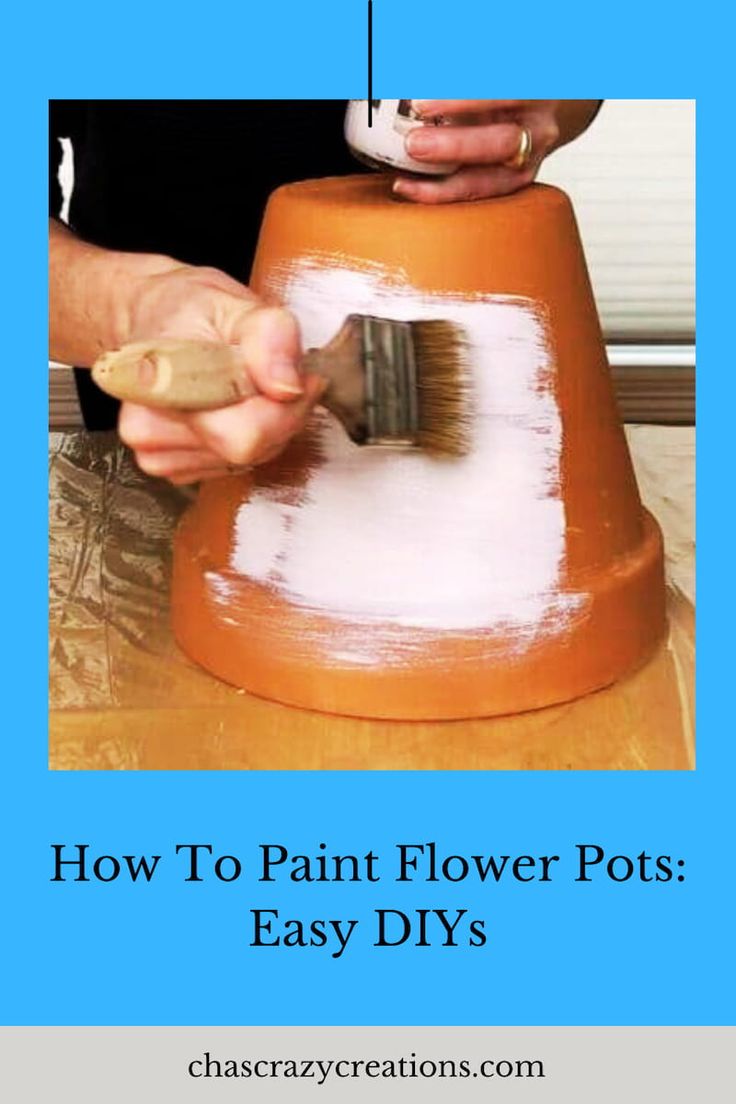
On planters, outdoor benches, or wall-mounted panels, a short-nap foam roller speeds up coverage and leaves a smoother finish. Roll in one direction first, then gently backroll at a slight angle to even out texture. Avoid pressing so hard that paint pools in the low spots; thin coats are always more reliable than thick ones.




Drying Between Coats
Patience during drying pays off in the final look. A humid environment or a cold room can extend drying times, so plan for airflow and moderate temperatures. Once the first coat is touch-dry, lightly inspect for missed spots, then apply the recommended second coat for full, vibrant opacity.
Sealing and Protecting the Finish
Paint alone won’t shield your work from rain, UV rays, and accidental knocks. A clear topcoat tailored to your finish delivers the durability that makes painted terra cotta worthwhile.
- For a natural clay look with subtle sheen, choose a matte or satin water-based sealer designed for masonry or exterior use.
- For high-traffic items or furniture, a satin or gloss polyurethane adds a tougher shield, though it can darken colors slightly, so test first.
- Apply thin, even coats with a clean brush or roller, letting each layer cure before adding the next.
- Reapply sealer annually or as needed, especially for planters exposed to constant moisture and sunlight.
With careful prep, the right materials, and steady technique, painting terra cotta becomes a dependable way to refresh planters, brighten garden accents, and personalize your space. The process rewards patience at every step, from gentle cleaning to measured drying and sealing. Treat each coat with respect, and the finished pieces will stay vivid, intact, and ready to shine through the seasons.
Related Articles

The Ultimate Guide to Paint Brick Gray: Expert Tips & Stunning Results
Selecting the right color for a renovation or new build is often the most critical decision a homeowner faces, and choosing paint brick gray has become a...

The Ultimate Guide to Preparing a Room for Painting: Expert Tips & Checklist
Preparing a room for painting is the single most critical step in achieving a flawless, professional-looking finish. While the selection of paint color and...

The Ultimate Guide to Wooden Blinds Cleaner: Expert Tips for Flawless Results
Maintaining the pristine appearance of your home involves attention to detail, and window treatments often bear the brunt of daily dust and grime. Wooden...

The Ultimate Guide to Painting Metal Chairs: DIY Transformation and Tips
Transforming a tired, outdated metal chair is one of the most cost-effective ways to refresh a room or breathe new life into a patio set. Whether the piece is...

Terra Cotta Azalea Pots: The Ultimate Guide to Stunning Blooms
The humble terra cotta azalea pot is a classic choice for gardeners seeking a natural, rustic aesthetic. Its porous clay construction offers superior...

The Ultimate Guide to the Best Paint for Stencils: Flawless Results Every Time
Choosing the best paint for stencils transforms a simple plastic template into a precise tool for creating crisp, professional-looking designs on walls...