How to Paint a Terracotta Plant Pot: Easy DIY Designs
Transforming a plain terracotta pot into a vibrant canvas is one of the most rewarding DIY projects for any plant enthusiast. The warm, earthy tone of the clay provides a perfect backdrop for a burst of color, allowing you to customize your plant's home to match your personal style or your indoor décor. This process is not only accessible for beginners but also offers endless creative possibilities for experienced crafters.
Before you dive into the creative chaos, assembling the right materials is the cornerstone of a successful outcome. You want to ensure you have high-quality supplies that will adhere well to the porous surface of the clay and provide a durable finish. Skipping this step can lead to peeling paint or a finish that looks amateurish, so treat this preparation phase with the same importance as the painting itself.
Gathering Your Supplies
Having the correct tools at your fingertips streamlines the process and eliminates frustrating interruptions. You need items that prepare the surface, facilitate the painting, and ensure the longevity of your design. Terracotta is thirsty, so the right primers and paints are essential to prevent the pot from absorbing moisture too quickly, which can cause cracking or peeling.


- Terracotta plant pot (clean and dry)
- Acrylic gesso or primer specifically for porous surfaces
- Acrylic paints (artist-grade for better coverage)
- High-quality synthetic brushes (various sizes)
- Sealant (matte or gloss finish based on preference)
- Painter's tape and pencil for templates
Preparing the Pot
Skipping the preparation phase is the most common mistake beginners make, and it almost always leads to disappointment. The terracotta surface is dusty and slightly irregular, which prevents paint from adhering smoothly. By taking the time to clean and prime, you create a flawless canvas that allows the color to appear true to shade and texture.
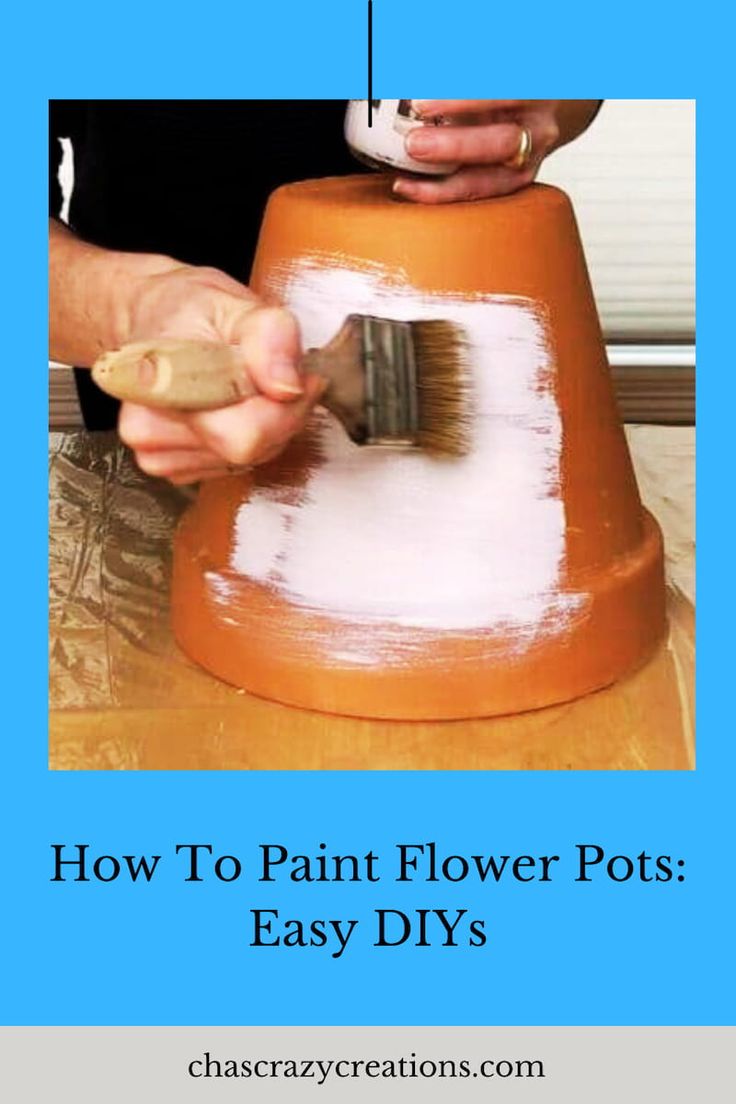
Start by rinsing the pot inside and out with water to remove any clay dust or debris. Once dry, apply a coat of acrylic gesso using a wide brush, following the natural contours of the pot. Allow this to dry completely; this gritty base coat grabs onto the top layer of paint, ensuring your vibrant colors won't wash away when you water your plants.


Design and Painting Techniques
With the base prepared, you can finally unleash your creativity. Whether you opt for a sleek minimalist look with geometric shapes or a whimsical design involving florals and dots, the application process requires patience and a steady hand. Working in thin layers is the professional secret to achieving a rich, opaque color without the tell-tale streaks of a amateur.
Mastering the Coat
Always apply paint in thin coats rather than thick layers. Thick paint takes forever to dry and is prone to dripping and cracking as it shrinks. Allow the first coat to dry thoroughly before assessing if a second coat is necessary. This waiting period is crucial for the paint to bond correctly to the gesso, resulting in a finish that feels smooth to the touch rather than sticky or tacky.
Adding Details
For intricate patterns, low-tack painter’s tape is indispensable. Use it to create sharp, clean lines for stripes or grids. If you are free-handing designs, a light pencil sketch can guide your brush without leaving permanent marks. Remember, the terracotta will still peek through if you make a mistake with the paint, adding a rustic charm rather than a flaw.


Sealing the Creation
Once the paint is completely dry, the final step is arguably the most critical for the pot's longevity. Exterior sealant protects your artwork from the elements, especially if the pot will be placed outdoors or in a sunny window where UV rays can fade colors. This protective layer also shields the design from scratches caused by plant maintenance.
Choose a sealant that is waterproof and suitable for outdoor use if applicable. Apply the sealant in a thin, even coat, ensuring you cover the rim and the bottom where water might come into contact with the painted surface. Allow it to cure fully before inserting soil and plants, as this prevents the sealant from turning cloudy or peeling due to the moisture from the soil.


Related Articles

Gingerbread Decorating Ideas: Easy & Stunning Designs for the Holidays
Creating a gingerbread house is a rewarding creative pursuit that blends baking with artistic design. The true magic happens after the oven cools, when the...

Half Bath Paint Color Ideas with Brown Cabinet: 20+ Stunning Designs
Brown cabinetry provides a warm, grounded foundation for any half bath, but selecting the right paint color is the key to transforming that space from merely...

28 Inch Shower Stall Kits: Modern Designs & Easy Installation
Stepping into a spa-like retreat at the end of a long day no longer requires a trip to a luxury resort. A dedicated upgrade to your bathroom can be achieved...

Harley Davidson Garage Paint Ideas: 50+ Cool Designs & Inspiration
Transforming a Harley-Davidson into a true expression of individuality often starts in the garage, long before the open road. The paint applied in this private...

Annie Sloan Chalk Paint on Fabric: Easy Guide to Masterful Results
Annie Sloan Chalk Paint has revolutionized the world of DIY and home décor, offering a versatile medium that brings a timeless, matte finish to nearly any...

Easy to Paint Flowers: A Beginner's Guide to Captive Blooms
For the aspiring artist or the seasoned painter looking for a swift burst of inspiration, few subjects are as universally rewarding as floral subjects. Flowers...