How to Get Rid of Glare in Photoshop: Easy Fix for Streaky Highlights
Dealing with unwanted glare in Photoshop is a common challenge for photographers and designers, often turning a promising image into a frustrating obstacle. Whether it's a distracting reflection on a polished surface, blown-out highlights on skin, or an overly shiny product shot, glare can flatten dimension and steal focus. The good news is that Photoshop provides a robust toolkit to not only reduce this issue but also to manage it with precision. This guide walks through several professional methods, from quick fixes to advanced techniques, ensuring you can handle any glare scenario effectively.
Before diving into complex adjustments, it's crucial to identify the type of glare you're facing. Is it specular, where you see a clear reflection of a light source, like a hot spot on a metal or glass object? Or is it more of a general loss of detail in the brightest areas, often referred to as "blown highlights"? Understanding the nature of the artifact dictates the best removal strategy. For instance, a sharp hotspot might need precise cloning, while a soft veil of overexposure benefits more from tone mapping adjustments.
Essential Tools for Glare Removal
Photoshop offers a specific set of tools that are particularly effective for tackling glare. Having a clear understanding of their functions allows for a more efficient workflow. You'll primarily be working with tools that either sample surrounding texture or allow you to non-destructively adjust the tonal range of the affected area.


The Healing and Cloning Brushes
For glossy surfaces like skin, glass, or metal, the Spot Healing Brush Tool and the Clone Stamp Tool are indispensable. The Spot Healing Brush is excellent for small to medium-sized glare spots; it automatically samples the surrounding pixels to blend the correction seamlessly. For more complex reflections with distinct patterns, the Clone Stamp Tool provides greater control, allowing you to manually select the source area to paint over the glare. Remember to use a soft brush edge and a moderate opacity for natural-looking results.
Adjustment Layers for Tonal Control
To address glare without permanently altering your original image, adjustment layers are your best friend. Creating a Curves or Levels adjustment layer allows you to selectively brighten or darken specific tonal ranges. By clipping the adjustment layer to your image layer and using a layer mask, you can target only the overexposed areas. This method is particularly powerful for recovering details in highlights and restoring a balanced contrast to the entire image.


Step-by-Step: Using Curves to Reduce Glare
A Curves adjustment layer is one of the most versatile methods for diminishing the impact of glare. This technique works by pulling down the RGB curve, which reduces the intensity of the brightest pixels. Here’s how to apply it with precision:
| Step | Action | Purpose |
|---|---|---|
| 1 | Open the Layers panel and click the "Create new fill or adjustment layer" icon (half-black, half-white circle). | To add a non-destructive adjustment layer. |
| 2 | Select "Curves" from the menu. | To open the properties panel. |
| 3 | Grab the center of the diagonal curve line and drag it gently downward. | To lower the exposure of mid-tones and highlights. |
| 4 | Add a layer mask to the adjustment layer and paint with black over areas you want to remain unchanged. | To restrict the effect only to the glare. |
Advanced Technique: The Shadow/Highlight Recovery
When glare covers a significant portion of an object, basic curves adjustments might not be enough to restore detail. Photoshop's "Shadow/Highlight" recovery tool is designed for extreme tonal ranges and can work wonders. By brightening the underexposed shadows and toning down the overexposed highlights, it pulls back detail from the edges of the spectrum. This is especially useful for rescuing photos where the subject is backlit or illuminated by a very bright, direct light source.
To use this tool, navigate to the menu bar and select Image > Adjustments > Shadow/Highlight. In the dialog box, increase the "Highlights" slider to recover detail in the blown-out areas and decrease the "Shadows" slider to lift detail from the dark regions. Be cautious with the "Amount" sliders, as pushing the values too high can introduce noise or a grayish cast. The "Midtone Contrast" slider helps to restore the image's natural separation after the adjustment.


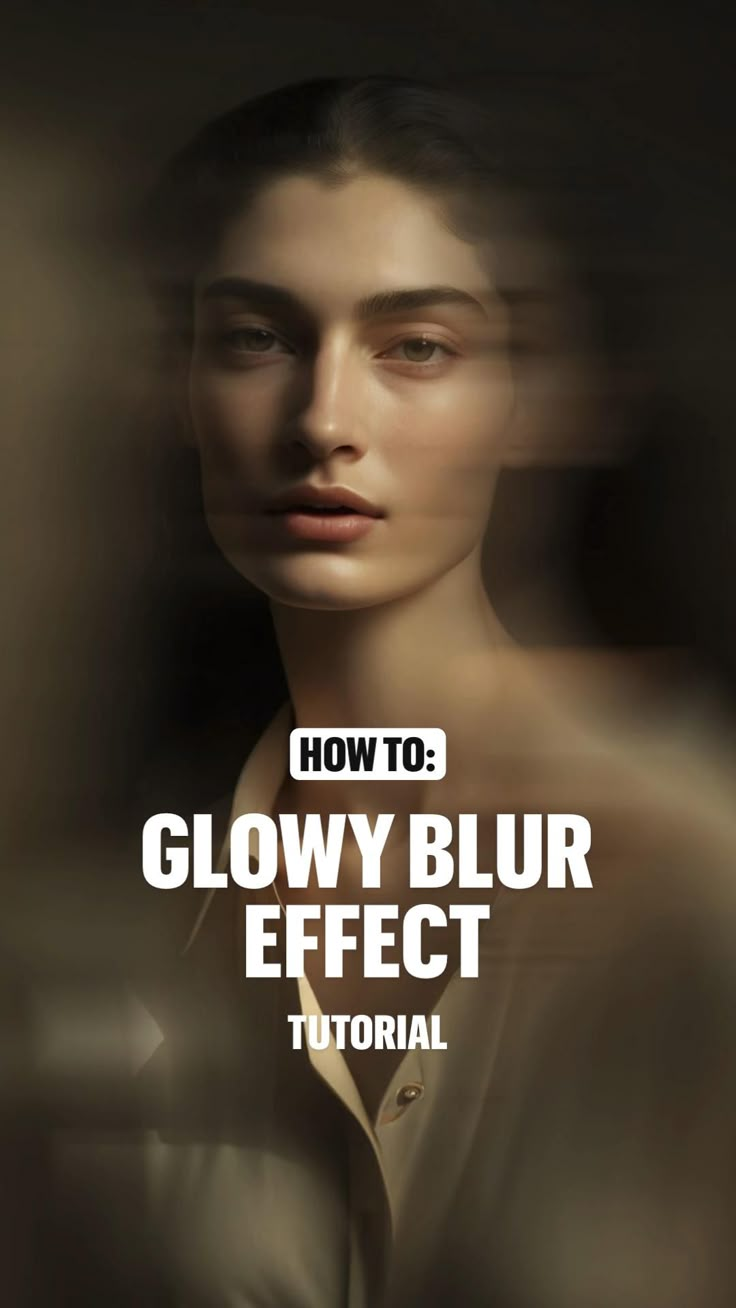


Ultimately, combining these techniques yields the best outcome. You might start with a subtle curves adjustment to lower the intensity of the glare, then use the Clone Stamp to clean up any remaining hotspots, and finish with a targeted shadow/highlight recovery to unveil hidden texture. This multi-step approach ensures a balanced and professional result, preserving the integrity of the original photograph while eliminating distracting artifacts.


Related Articles

Master How to Draw Lines in Photoshop: Easy Step-by-Step Guide
Mastering the line is fundamental to digital art, and Adobe Photoshop provides a robust set of tools to create everything from subtle design guides to...

How to Add Custom Fonts to Photoshop: Easy Step-by-Step Guide
For many designers and digital artists, the default typefaces in Adobe Photoshop simply do not suffice. Whether you are working on a high-stakes brand identity...

Blonde Highlights Pale Skin: Trendy Looks & Easy Tutorials
Blonde highlights on pale skin create a luminous, dimensional effect that flatters a wide range of complexions. The strategic placement of lighter tones...

Create Stunning Collages in Photoshop: Easy Step-by-Step Guide
Creating a collage in Photoshop is a powerful way to combine multiple images into a single, cohesive visual story. Whether you are building a dynamic social...

How to Make Image Smaller in Photoshop: Easy Resize Guide
Optimizing image size in Photoshop is a fundamental skill for any digital creator, whether you are preparing a photograph for a website, compressing a...

Master Bullet Points in Photoshop: Easy Guide & Tips
Mastering the bullet point in Photoshop opens up a world of design possibilities, from creating sharp iconography to building complex data visualizations...