How to Fill a Hole in Tile: Easy DIY Repair Guide
Accidental chips, cracked grout, or the need to replace a damaged tile often leave an unsightly void in an otherwise perfect surface. Learning how to fill a hole in tile is a valuable skill that saves money and prevents the frustration of living with a permanent eyesore. Whether the imperfection is small and barely noticeable or a gap left by a removed fixture, the repair process is straightforward with the right materials and a patient approach.
Preparing the Surface for a Seamless Repair
The success of any tile repair hinges entirely on preparation. Before applying any filler, the hole must be meticulously cleaned to ensure a strong bond. Loose debris, old adhesive, or greasy residue from cleaning products will prevent the filler from adhering correctly, causing the patch to fail prematurely. A stiff brush and compressed air are essential tools for reaching deep into the void.
Begin by using a utility knife or a dedicated grout saw to scrape away any loose or crumbling material from the edges of the hole. Next, vacuum the area thoroughly to remove dust particles that could create weak spots. For stubborn grime, a light solvent wipe works well, but you must ensure the surface is completely dry before moving on to the filling stage.


Choosing the Right Filler Material
Not all fillers are created equal, and selecting the correct product is critical to replicating the look and feel of the original surface. For holes that require a slight elevation above the tile line, a high-quality epoxy putty is often the best choice due to its incredible strength and minimal shrinkage. These products harden into a solid mass that can be sanded flush once cured.
For shallower repairs where the goal is to level the surface, a lightweight spackle or drywall mud might suffice temporarily. However, for a truly professional and durable result on a high-traffic surface like a floor or shower, a two-part epoxy system designed for stone and tile is the industry standard. This method ensures the patch can handle temperature fluctuations and physical stress without cracking.


The Application Process
With the hole prepped and the material selected, it is time to apply the filler. The key to a flawless finish lies in building the material up in thin layers rather than attempting to fill the entire space at once. Thick applications are prone to shrinking and cracking as they dry, leading to a repeat of the original problem.
Using a small metal spatula or a dedicated putty knife, work the filler into the hole, pressing it firmly into the edges to eliminate air pockets. Scrape off any excess material so that the filler is slightly proud of the surrounding tile surface. This extra height is intentional, as the material will contract slightly as it cures, leaving a slight dip if not overfilled initially.
Sanding for Perfection
Patience is required at this stage, as rushing the drying process will compromise the integrity of the repair. Allow the filler to cure for the full time specified by the manufacturer, which can sometimes take 24 hours or more. Rushing this step often results in the putty turning into a gummy mess that sands poorly.
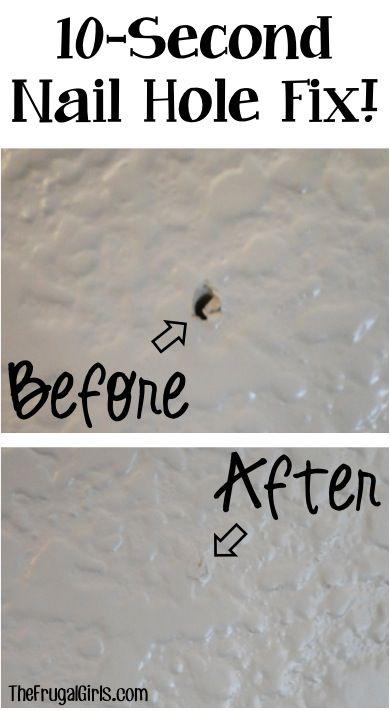


Once fully hardened, gently sand the repaired area using fine-grit sandpaper or a sanding block. The goal is to gradually lower the filler until it is perfectly level with the surrounding tile surface. Wipe away the dust with a damp cloth to reveal the smoothness of your work. If the repair is in a spot that will receive grout, do not worry if the texture of the sanded filler looks slightly different at this stage.
Grouting and Final Blending
If the hole is large enough to require grout or if the surrounding grout lines are being refreshed, this is the stage where the repair truly disappears. Select a grout color that matches the existing pattern as closely as possible; a slight variation is acceptable, but a stark contrast will draw attention to the repair.
Apply the grout using a rubber float, pressing it diagonally across the surface to ensure it fills the new texture completely. Wipe off the excess with a damp sponge before it fully sets, being careful not to disturb the filled hole. The final step involves sealing the grout, which protects the repair from moisture and stains, ensuring the tile looks integrated once again.


Related Articles

Broken Floor Tile Replacement: Quick & Easy Repair Guide
Discovering a broken floor tile is often the start of a minor inconvenience that can quickly escalate into a significant safety hazard. Whether it is a small...

Mending a Hole: Easy DIY Fabric Repair Guide
Finding a worn patch or a tear in your favorite sweater, a canvas tarp, or a beloved pair of jeans immediately triggers a minor crisis. The instinct is often...

How to Fix a Hole in Wall Easy: Quick & Simple Repair Guide
Discovering a hole in your wall can be a minor panic, but it is almost always a fix that any homeowner can handle. Whether it is from a stray doorknob, an...

How to Patch a Small Hole in Drywall: Quick & Easy Repair Guide
Patching a small hole in drywall is one of the most common and satisfying DIY tasks for homeowners. Whether it's from a doorknob impact, a misplaced picture...

Sewing a Hole in a Dress? Quick & Easy Repair Guide
Discovering a tear in your favorite dress can feel like a minor disaster, but it is a problem with a simple, elegant solution. Whether the damage is from a...
How to Cover a Hole in the Wall: Quick & Easy Repair Guide
Finding a hole in your wall is an inevitable part of home ownership. Whether it is from a misguided furniture move, an accidental door strike, or a previous...