Flawless Finish: How to Cover Spots with Makeup Like a Pro
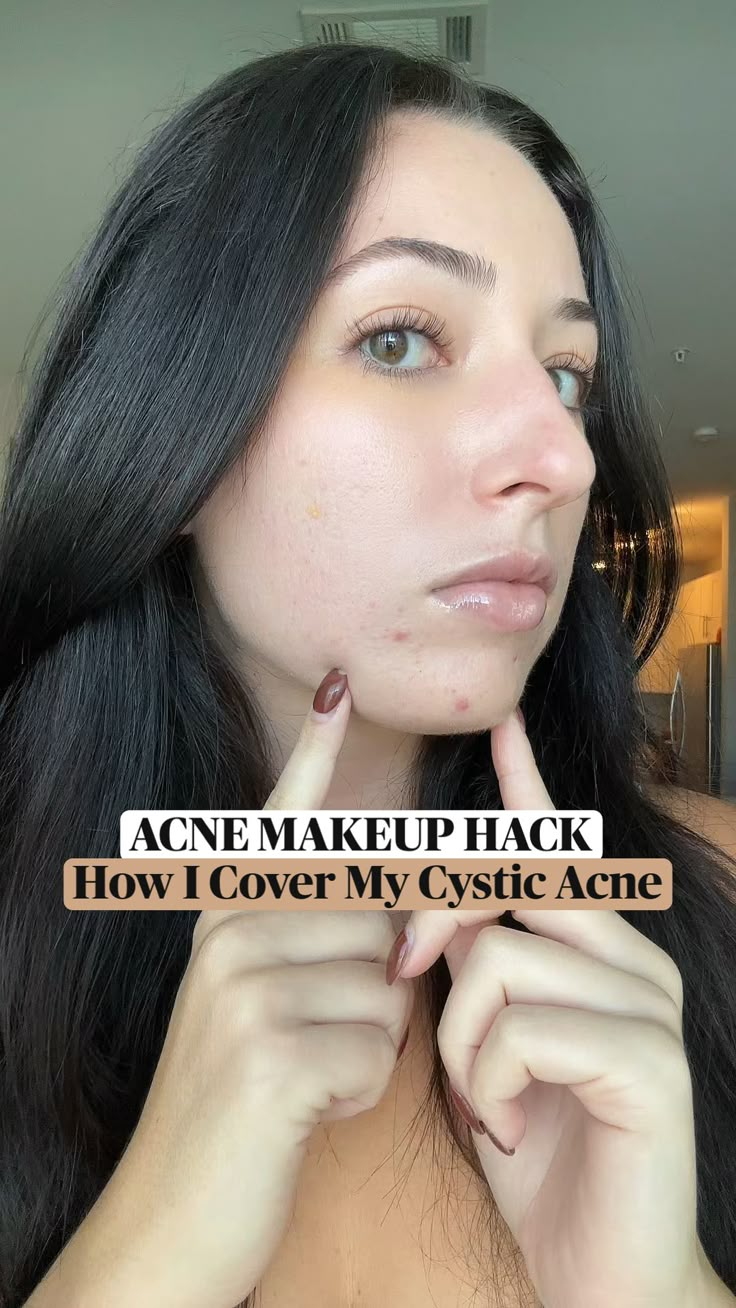
Perfectly covering a spot with makeup is less about heavy concealment and more about strategic precision. The goal is to neutralize the redness or darkness of a blemish while ensuring the finish blends seamlessly with your surrounding skin texture.
The Science Behind Spot Coverage
Understanding color theory is the first step toward mastering spot coverage. Blood vessels and inflammation create red tones, while old, healing marks often leave behind brown or purple undertones. To effectively hide these discolorations, you must use a corrector that is the opposite color on the wheel. This method cancels out the visible hue, creating a blank canvas for your foundation and concealer to sit naturally.
Step-by-Step Application Process
Begin with a well-prepped canvas. Hydrate your face, but ensure all areas are completely dry before applying any product. Pat a lightweight moisturizer into areas surrounding the spot, avoiding the immediate crater to prevent product pooling. Next, a primers specifically designed for pores will create a smooth grip, allowing the concealer to adhere better and last longer without sliding off.


Correcting the Discoloration
This is the most critical phase in the hiding process. You will need a targeted concealer that is one to two shades lighter than your natural skin tone. Using a synthetic brush or a clean fingertip, dot a small amount of a green corrector directly onto the red spot. Gently tap and blend the edges outward until the green is no longer visible. If dealing with dark spots, use a peach or orange corrector in the same manner to cancel out the deep pigmentation.
Locking in the Correction
Before applying your main concealer, you must set the corrector immediately. Dip a small fluffy brush into a translucent setting powder and press it directly onto the corrected area. Avoid sweeping motions, which might disturb the carefully placed hue. Pressing the powder into the skin locks the corrector in place and prevents it from mixing with the upcoming layers of product.


Blending for a Natural Finish
Now you can apply your full-coverage concealer. Choose a formula that offers high opacity but feels lightweight on the skin. Warm the product between your ring finger and gently press it onto the spot, using a dabbing motion rather than rubbing or dragging. The aim is to build a thin, even layer that sits flush with the surrounding skin rather than sitting on top of it in a noticeable bump.
Diffusing the Edges
The secret to a flawless look lies in the edges. A harsh line around a spot is a dead giveaway that makeup was used. To diffuse the edges, take a clean buffing brush. Dip the tips into a sheer matte foundation that matches your neck. Sweep this brush gently around the perimeter of the covered spot, blending the concealer into the natural foundation until the coverage gradient is imperceptible.
Setting and Final Touches
Even if your concealer is marketed as "waterproof" or "full-coverage," it will not last without proper setting. After your entire face is made up, use a large fluffy powder brush to apply a final layer of loose translucent powder over the spot. Focus on pressing the powder into the area rather than dusting it on the surface. This ensures the spot stays covered through heat, humidity, and touch without settling into fine lines.


To ensure the longevity of your work, check the spot under different lighting conditions. Take the cover near a window to examine it in natural daylight, looking specifically for any ashiness or flashback from the camera. If necessary, lightly dust the area once more with powder or gently press a cream concealer on top to adjust the finish, guaranteeing the spot is hidden perfectly from every angle.


Related Articles

LED Makeup Mirror with Touch Pad: Impressions of Flawless Beauty
The impressions touch pad led makeup mirror represents a significant evolution in personal grooming technology, moving beyond simple illumination to offer a...

Makeup for Platinum Hair: Radiant Glow & Flawless Finish
Platinum hair is a statement, a bold declaration of individuality and style. However, achieving a cohesive and polished look requires more than just bleaching...

Flawless Finish: The Ultimate Guide to Setting Powder with Beauty Blender
Mastering the art of setting powder application is a game-changer for anyone who uses a beauty blender, and it is the single most effective way to achieve a...

How to Hide Eye Bags with Makeup: Flawless Under-Eye Coverage
The persistent issue of under-eye bags can undermine even the most carefully applied makeup look. Often rooted in genetics, lack of sleep, or the natural aging...

Ultimate Guide to Spray Painting Over Rust: Flawless Finish Tips
Finding rust on your metal surfaces can feel like a setback, but it is far from the end of the road. Spray painting over rust is not just a temporary fix; it...

Ultimate Prep for Deck Stain: Expert Tips for a Flawless Finish
Preparing for deck stain is the single most important step in ensuring a long-lasting, beautiful finish. While the act of applying the color is satisfying, the...