Master the Art of How to Color Stain Wood: Expert Techniques for Stunning Results
Transforming the natural grain of wood with color is one of the most rewarding ways to customize a project. Whether you are refreshing tired furniture or crafting custom cabinetry, applying a stain correctly ensures the wood absorbs the pigment evenly, resulting in a rich and durable finish. Achieving this requires patience, the right materials, and a clear understanding of how different products interact with the grain.
Preparing the Wood Surface
The foundation of any great stain job is preparation. Raw wood often contains natural oils, dirt, or previous finishes that prevent new products from bonding properly. If you skip this step, the color will appear blotchy and uneven, no matter how carefully you apply it.
Begin by sanding the surface with progressively finer grits of sandpaper, usually starting at 120 grit and moving to 220 grit. It is crucial to sand *with* the grain to avoid creating cross-scratches that will show through the final color. After sanding, remove all dust using a tack cloth or a vacuum with a brush attachment; residual sawdust will mix with the stain and create a gritty texture.


Choosing the Right Stain Type
Not all stains are created equal, and selecting the right one dictates the application process. The two primary categories are oil-based and water-based stains. Oil-based stains penetrate deeply, offer a warm tone, and dry slowly, which allows for easy blending and correcting if you make a mistake. Water-based stains dry quickly, have a low odor, and raise the wood grain less, making them ideal for projects where a fast turnaround is necessary.
Gel stains are another popular option, particularly for vertical surfaces or woods like oak. Because of their thick consistency, they sit on top of the wood rather than penetrating deeply, which minimizes blotching on porous woods. Understanding these differences allows you to tailor your technique to the specific material in front of you.


Applying the Stain Evenly
When you are ready to apply color, work in a well-ventilated area and wear gloves to protect your hands. Use a high-quality brush, a lint-free rag, or a sponge to apply the stain. The key is to move quickly and consistently, following the direction of the grain without over-brushing.
- Brush Application: Apply the stain in the direction of the grain and immediately wipe off the excess with a clean rag to prevent pooling.
- Wipe-On Application: Dip a rag into the stain and rub it into the wood, which offers more control and reduces the risk of drips.
Remember to wipe off any excess stain after about 5 to 10 minutes. Leaving it on too long will not make the color darker; it will only result in a sticky, uneven surface.
Testing and Drying
Always test your chosen stain on a scrap piece of wood or an inconspicuous area first. Wood species absorb color differently, and what looks perfect on a sample board might look too dark or too red on your actual project. This test also allows you to determine how many coats you need to achieve your desired shade.


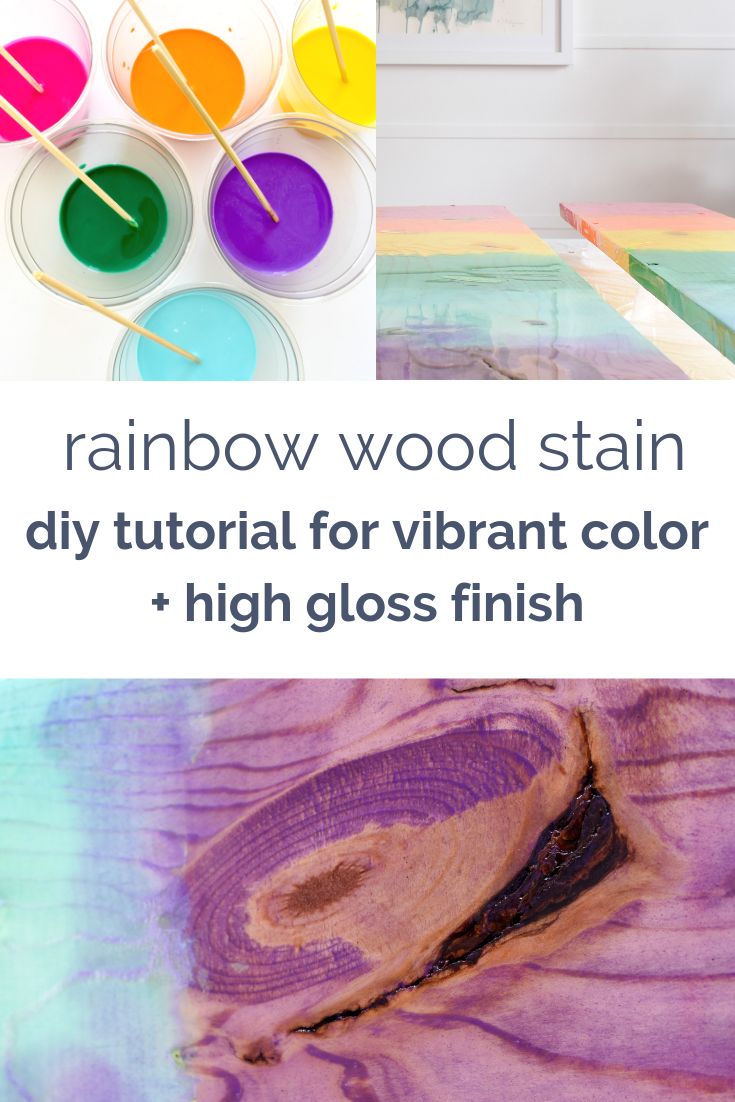


Allow each coat to dry completely according to the manufacturer’s recommendations before applying the next one. Rushing this step can lead to a sticky finish or cause the pigments to mix unevenly, ruining the consistency of the color.
Correcting Mistakes
Even experienced DIYers encounter challenges, and knowing how to fix them is essential. If you apply too much stain and the wood appears blotchy, you can often correct it by wiping the area with a clean cloth dampened with mineral spirits. This will lift some of the pigment and soften the harsh edges.
If the color is too light, you can apply an additional coat once the surface is dry. However, if it is too dark, the solution is more involved. You may need to sand the surface back down to remove the top layer of stain and start the process over, ensuring you raise the grain with a light sand before reapplying.


Sealing the Color
Once you are satisfied with the depth of the color, sealing the wood is the critical final step. Stain protects the wood aesthetically, but it does not provide enough durability for surfaces that encounter moisture or handling. A topcoat acts as a shield, locking in the pigment and preventing the wood from absorbing future spills.
For most projects, a polyurethane finish is the standard due to its toughness and clarity. Apply the finish thinly and evenly using a brush or foam applicator, watching for drips along the edges. Multiple thin coats are superior to one thick coat, as they dry clearer and resist bubbling better.
Related Articles

The Best Way to Apply Stain to a Deck: Expert Techniques for Stunning Results
Applying stain to a deck is the single most important step in preserving its beauty and extending its life. A quality finish shields the wood from relentless...

Refurbished Wood Floors: Expert Restoration for Stunning Hardwood Revival
The market for home improvement is increasingly valuing authenticity and character, and few elements deliver on this promise quite like refurbished wood...

Master Wilton Decorating Tip 109: Pro Techniques for Stunning Designs
Wilton tip 109 is a deceptively simple tool that unlocks a world of professional-looking detail for your cakes and cookies. Often overlooked in favor of more...

Stain Wood Wall Ideas: Stunning Designs & Easy Application
Stain wood wall treatments transform ordinary surfaces into dynamic design elements, offering depth and character that paint alone cannot achieve. This...

The Ultimate Guide to Stripping Wood: Expert Tips & Techniques
Removing the old finish from wood is often the most critical step in any refinishing project. Whether you are restoring a family heirloom or preparing a piece...

Fake Wood Furniture: 5 Stunning Paint Techniques for a Designer Look
Transforming a worn-out piece of furniture with a faux wood finish is one of the most effective ways to refresh a room without the time and expense of...