Sparkling Oven Cleaning with Vinegar: The Ultimate DIY Guide
Few household tasks are as daunting as confronting a caked-on, greasy oven. Over time, food splatters and spills polymerize, transforming into a stubborn residue that standard cleaning sprays rarely touch. Fortunately, the key to a sparkling clean oven often lies in your pantry, not a chemical-laden store shelf. Using vinegar, a common household staple, offers an effective, non-toxic, and budget-friendly solution to cut through grime without harsh fumes.
The magic behind this method is a simple chemical reaction. When you combine vinegar—a mild acid—with baking soda, an alkaline substance, you create a powerful effervescent cleaner. This reaction produces carbon dioxide gas, which helps to lift and break down tough, baked-on debris. Unlike abrasive scrubbers or harsh chemicals, this natural process gently dissolves grease and grime, making the gunk easy to wipe away, leaving your appliance clean and smelling fresh.
Preparing Your Oven for the Cleaning Process
Before you begin the fizz, proper preparation is essential for a smooth and safe cleaning experience. This step ensures that the vinegar solution can work effectively without interference and protects your appliance’s interior surfaces.
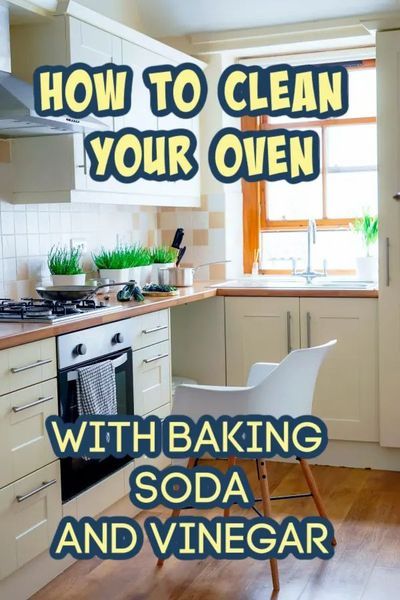


- Remove all oven racks and accessories, placing them in a separate sink or bathtub filled with hot, soapy water to soak.
- Clear out any large debris or loose food particles from the bottom of the oven using a dry paper towel or a soft brush.
- Ensure the oven is completely turned off and has cooled down to room temperature to prevent the solution from evaporating too quickly.
- Cover your kitchen floor with an old towel or newspaper to catch any drips or spills during the application process.
Crafting the Natural Cleaning Paste
The most effective way to deploy vinegar in your oven cleaning is by creating a thick, spreadable paste. This paste clings to vertical walls and the oven floor, allowing the chemical reaction to occur directly on the grime. The texture is key; you want a consistency similar to that of whipped cream or thick yogurt.
To achieve this, you will combine sodium bicarbonate with your distilled white vinegar in a small, non-reactive bowl. Start by adding the sodium bicarbonate gradually, mixing it with the vinegar until you reach a smooth, spreadable consistency. If the mixture is too runny, add more sodium bicarbonate. If it's too thick, add a few drops of water. The goal is to create a paste that is dense enough to stay where you put it.


Applying the Paste to the Interior Surfaces
This is the step where the cleaning truly begins. Armed with your homemade paste and a reliable sponge or microfiber cloth, you will coat the interior surfaces of your oven, avoiding the heating elements.
Focus on the most heavily soiled areas, applying a generous layer of the paste. For particularly tough, stained spots, you can apply a slightly thicker mound directly over the grime. It is critical to avoid getting any of the paste on the oven's heating elements, as the high heat could damage them or cause them to emit an odor during the next use. Gently smooth the paste into corners and along the sides, ensuring full coverage of the affected areas.
Activating the Reaction and Letting it Sit
Once the interior is fully coated, the fun begins. The paste will start to react, creating a satisfying foam that visibly eats away at the grime. This foaming action is the acid in the vinegar breaking down the alkaline burnt food residue.


Allow the paste to rest undisturbed for a minimum of 30 minutes. For ovens with severe buildup, letting the paste sit for several hours, or even overnight, can dramatically improve results. During this time, the chemical reaction continues to work, loosening the bond between the stubborn grime and the oven surface. Resist the urge to scrub during this period; patience is what allows the paste to do the hard work for you.
The Final Wipe-Down and Rinse
After the resting period has passed, it’s time to witness the transformation. What was once a hardened, baked-on mess will have lifted off the surface with minimal effort. Using a damp sponge or microfiber cloth, begin wiping down the interior, starting from the top and working your way down.
You will likely find that most of the paste wipes away easily, with only a few stubborn spots requiring a light scrub. For any residual paste in the corners, a quick spray of your cleaning solution or plain water will help loosen it. Finally, use a clean, damp cloth to wipe the entire interior to remove any remaining sodium bicarbonate residue, ensuring a pristine finish ready for your next meal.


Related Articles

Sparkling Clean Mirrors with Vinegar: The Ultimate DIY Guide
Few household tasks are as satisfying as seeing a perfectly clear mirror streak-free. Yet, for every commercial cleaner promising a flawless shine, there is an...

Sparkling Clean Coffee Maker: The Ultimate Vinegar Cleaning Guide
Few appliances demand the same level of daily dedication as the coffee maker. It churns out comforting mugs of energy, often before the fully conscious brain...

Restore Rusty Tools with Vinegar: The Ultimate DIY Cleaning Guide
Rust is the silent enemy of every tool enthusiast, slowly creeping across metal surfaces and turning reliable instruments into brittle, useless relics. Before...

Sparkling Hardwood Cleaning with Vinegar: The Ultimate DIY Guide
Hardwood floors are the crown jewel of any home, offering warmth and elegance that few other materials can replicate. Over time, however, daily foot traffic...

Sparkling Clean Tiles: The Ultimate Guide to How to Clean Tiles with Vinegar
For a straightforward and effective method to revitalize your floors and grout lines, learning how to clean tiles with vinegar is an essential household skill...

The Ultimate Guide to Cleaning Suede Shoes with Vinegar: Expert Tips
Suede shoes are a timeless addition to any wardrobe, offering a unique texture and sophisticated look that is difficult to replicate with other materials...