How Long Does Gloss Varnish Take to Dry? Speed Up Drying Time
Understanding how long gloss varnish takes to dry is essential for any artist or crafter looking to achieve a flawless, professional finish. While the promise of a high-shield, glossy coat is enticing, the drying process is often more nuanced than simply waiting for the surface to feel touch-dry. The timeline is affected by a combination of chemical composition, environmental conditions, and application technique, turning a straightforward project into a test of patience and preparation.
The Science Behind the Shine: Solvent vs. Cure
To grasp the drying timeline, you first need to differentiate between drying and curing. When you apply gloss varnish, you are typically working with a solution of resin dissolved in a solvent, such as water or mineral spirits. The initial "dry" time occurs when the solvent evaporates, causing the varnish to lose its tack and form a skin. This process can take anywhere from 20 minutes to a few hours. However, this is not the end of the chemical reaction. Full cure, where the polymer bonds harden to achieve maximum durability and chemical resistance, can take several days or even weeks. If you rush this final stage by applying a topcoat or handling the piece too soon, you risk compromising the integrity of the finish.
Water-Based vs. Oil-Based Formulations
The specific type of gloss varnish you choose is the primary determinant of initial drying speed. Water-based formulas have become increasingly popular due to their low odor and quick evaporation rate; they often feel touch-dry within 30 minutes to an hour. In contrast, oil-based and oil-modified alkyd varnishes dry much more slowly. These formulations rely on a longer oxidative process to harden, which can require waiting 6 to 8 hours between coats, or even overnight, to avoid sticky residue. Understanding this distinction helps you set realistic expectations for your workflow.


Environmental Factors: Airflow and Humidity
Even with the perfect product, the environment can significantly alter the drying schedule. Warm, dry air accelerates evaporation, helping the varnish to set up faster. Conversely, cold or humid conditions are the enemy of a quick cure. High humidity prevents moisture (in water-based products) or solvent from escaping into the air, leaving the surface sticky for extended periods. To optimize conditions, aim for a temperature between 70°F and 78°F (21°C and 26°C) with moderate humidity. Using a dehumidifier or a gentle cross-flow of clean air can drastically reduce wait times without causing dust or debris to settle on the wet surface.
The Role of Application Thickness
Thin films dry faster than thick ones. If you are applying gloss varnish with a brush, a heavy, gloopy coat will remain tacky far longer than a thin, even wash. The goal is to apply multiple thin coats rather than one thick layer. A thin coat allows solvents to escape efficiently and promotes a uniform cure. If you are spraying the varnish, you can generally achieve a quicker drying time due to the fine atomization of the product, which creates an ultra-thin layer that flash-dries almost instantly upon contact with air.


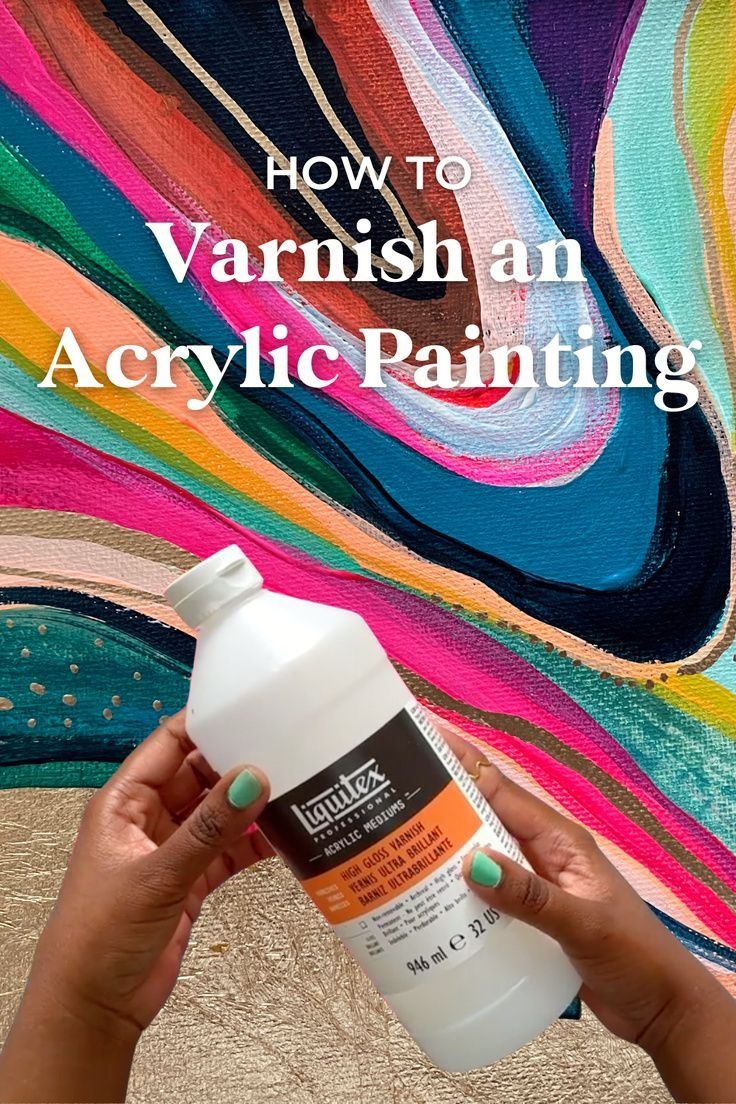
Practical Timing Guide for Common Projects
While every product label is the ultimate authority, here is a general timeline for how long common gloss varnishes take to dry based on typical industry standards.
| Type of Varnish | Touch-Dry Time | Re-Coat Time | Full Cure Time |
|---|---|---|---|
| Water-Based Polyurethane | 20 – 60 minutes | 2 – 4 hours | 7 days |
| Oil-Based Polyurethane | 4 – 8 hours | 24 hours | 30 days |
| Spray Gloss Varnish | 10 – 30 minutes | 1 – 2 hours | 3 – 5 days |
| Danish Oil (Gloss Finish) | 8 – 12 hours | 24 hours | Full penetration (weeks) |
Tackiness Troubleshooting: When the Clock Stalls
Sometimes, the varnish simply refuses to dry, leaving your project perpetually sticky. This is usually due to one of three issues: poor surface preparation, incompatible products, or an imbalance in the mixture. If you are applying a new coat over a previously finished surface, trapped dust or a poor bond can prevent the new layer from setting. Alternatively, mixing oil-based and water-based products is a common mistake that results in a never-ending sticky mess. If the varnish remains tacky for days, the most effective solution is often to lightly sand the surface with a fine-grit sandpaper to break the seal, clean the area thoroughly with a tack cloth, and start the process with a fresh, properly primed substrate.
Maximizing Durability: The Waiting Game Payoff
Patience is the final, and arguably most critical, step in the drying process. Handling a piece too early, even if the surface feels dry, can lead to fingerprints, nicked corners, or a ruined finish. Respect the manufacturer's suggested cure time, especially regarding heavy use or exposure to moisture. A table top subjected to drinks or abrasive cleaning before the full cure is completed is susceptible to stains and scratches that mar the glossy perfection you worked to achieve. Treat the waiting period as an integral part of the craftsmanship; the reward is a resilient, high-gloss finish that protects the underlying material for years to come.


Related Articles

How Long Does Wood Glue Take to Dry? Fast Drying Time Tips
When you are in the middle of a woodworking project, understanding the timeline for wood glue to dry is essential for maintaining workflow and ensuring...

How Long Does It Take to Paint a Room? (Speed Guide & Drying Times)
Preparing to give a room a fresh coat of paint is an exciting project, but before you dive in, the most practical question is often about timing. How long does...

How Long Does Hemp Oil Take to Work? Understanding Onset Time
When exploring the benefits of hemp oil, one of the most common questions is: how long does it take for hemp oil to work? The short answer is that it depends...

Perfect Oatmeal Cooking Time: How Long Does It Take?
When you ask how long it takes to cook oatmeal, the immediate answer is usually "about 5 to 10 minutes," but the reality is far more nuanced. The exact time...

How Long Does Shein Ship? Fast Delivery Guide & Tracking Time
Understanding how long it takes for Shein to ship is the first step to a stress-free shopping experience. The checkout process often leaves customers wondering...
Shein Shipping Speed: How Long Does It Take to Ship?
Understanding the Shein shipping timeline is often the first step for new customers looking to manage their expectations. When you place an order on Shein, you...