20+ Best Homemade Apple Butter Recipes for Crispy, Delicious Treats
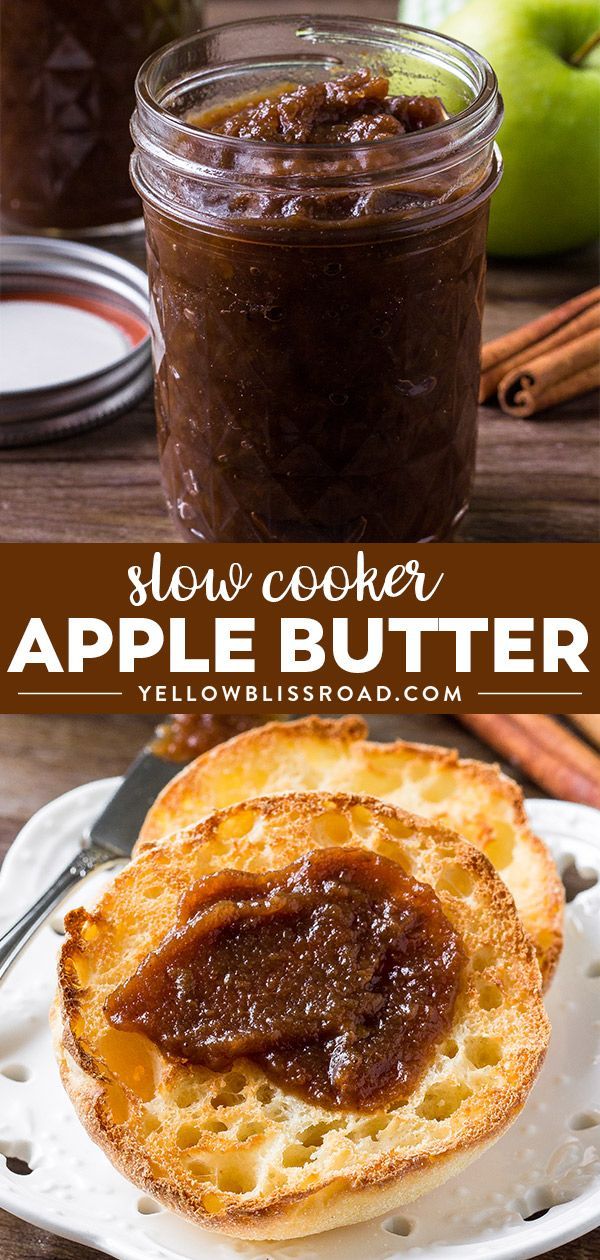
There is a unique kind of magic that happens in a slow simmering pot on the stove, where sliced apples gradually melt down into a deep, velvety spread. Homemade apple butter captures the essence of the orchard in its most concentrated form, transforming seasonal fruit into a shelf-stable treasure that tastes nothing like the watery, overly-spiced jars found on grocery shelves. This guide walks through the foundational methods, from the classic crockpot approach to the more hands-on stovetop version, ensuring you can create a product that is unctuous, complex, and entirely your own.
Understanding the Difference Between Applesauce and Apple Butter
To master homemade apple butter, it is essential to understand the simple science that sets it apart from applesauce. While applesauce is a straightforward puree of cooked fruit, apple butter is the result of prolonged cooking that breaks down the fruit's structure and caramelizes its natural sugars. This slow reduction process drives off the water content, creating a thicker, spreadable consistency that is almost fudge-like. The extended cooking time also deepens the flavor profile, moving beyond simple sweetness to develop a rich, almost smoky depth that embodies the true character of the apples used.
Selecting the Right Apples for Depth of Flavor
The quality and flavor of your homemade apple butter are directly tied to the varieties of apples you choose. While you can use whatever you have on hand, a strategic mix of apple types will yield a more complex and balanced final product. You want a combination that hits the key notes of sweet, tart, and aromatic.


For a well-rounded batch, consider the following apple varieties:
- Fuji or Honeycrisp: Provide a strong sweet backbone and firm texture.
- Granny Smith or Braeburn: Contribute essential tartness and acidity to cut through the sweetness.
- Jonamac or McIntosh: Break down easily and add a classic, slightly spicy apple flavor.
Using at least three different types ensures a layered flavor that is far more interesting than a one-note sweetness.


Crockpot Method: Set It and Forget It Simplicity
The most accessible method for most home cooks involves the gentle, even heat of a slow cooker. This low-and-slow approach is ideal for busy days, as it requires minimal intervention while maximizing flavor development.
Step-by-Step Crockpot Process
Start by washing, peeling, coring, and chopping your apples into uniform wedges—there is no need to be meticulous about slicing them thinly since the appliance will reduce them over time. Combine the apples in the crockpot with liquid (water, apple cider, or even apple juice) and your choice of spices. Common additions include ground cinnamon, freshly grated nutmeg, cloves, and star anise. Set the appliance to low heat and allow it to cook for 4 to 6 hours, stirring occasionally, until the apples are completely broken down.
Once the apples are soft, you have two choices for texture. For a rustic product, you can leave it as is, or for a silkier consistency, use an immersion blender directly in the pot or carefully transfer the mixture to a standard blender. The final step involves returning the pureed mixture to the pot (or a heavy-bottomed saucepan) and cooking it on the stovetop for the last 1 to 2 hours. This final reduction is critical, as it concentrates the flavor and achieves the signature thick, spreadable consistency.


Stovetop Method: Fast-Forward to Freshness
If you prefer a more active cooking process or are short on time, the stovetop method delivers excellent results with a faster turnaround. This technique gives you full control over the heat, allowing you to monitor the reduction and adjust the seasoning with precision.
Begin by placing the prepared apples in a heavy-bottomed Dutch oven or wide, heavy pot. Add a small amount of liquid to prevent scorching at the start of the process. As the mixture heats, the apples will release their own moisture. Cook the mixture over medium heat, stirring frequently to prevent sticking, especially as the liquid reduces. Once the apples break down, use a potato masher or immersion blender to smooth out the texture. Continue to cook, stirring almost constantly, until the butter darkens in color and the oil begins to separate slightly from the solids, indicating that the water content has been fully driven off.
Spices and Customizations
While cinnamon and nutmeg are classic choices, the beauty of homemade apple butter lies in the ability to tailor the spice blend to your personal taste or the season. Moving beyond the standard pantry spices opens up a world of sophisticated flavor profiles that make your batch truly unique.




Consider experimenting with the following additions:
- Warm Comfort: Add a star anise pod or a pinch of allspice for a deeper, warming note.
- Citrus Zest: A strip of lemon or orange zest added during cooking, removed before blending, provides a bright, fresh lift.
- Boozy Depth: Stir in a splash of bourbon, rum, or Calvados during the last 10 minutes of cooking for a complex, adult-friendly aroma.
- Savory Edge: A touch of flaky sea salt enhances the sweetness and adds a modern, gourmet dimension.
Storage and Shelf Life
Proper storage is vital to enjoying your labor long after the last apple is gone. For immediate use, allow the apple butter to cool completely before transferring it to a jar. Kept in the refrigerator, it will stay fresh for up to two weeks. For longer preservation, the traditional water bath canning method is highly effective. Fill hot, sterilized jars with the hot apple butter, leaving a quarter-inch headspace, wipe the rims clean, and process in a boiling water bath for 10 minutes. This creates a vacuum seal, allowing the jars to be stored in a cool, dark pantry for up to a year.
Homemade apple butter makes an excellent gift, offering a taste of the season that feels personal and heartfelt. Regardless of the method you choose, the result is a versatile ingredient that elevates everything from a simple piece of toast to the glaze of a roasted ham, proving that the best things in the kitchen are often the simplest.
Related Articles

Peanut Butter Easter Egg Recipes: 10 Delicious & Easy Treats
Peanut butter easter egg recipes offer a delicious evolution of a classic holiday treat, moving beyond simple chocolate to incorporate the rich, nutty flavor...

The Ultimate Apple Pie Homemade Recipe: Crispy, Delicious & Easy-To-Follow Guide
There is a certain magic in the kitchen when the scent of cinnamon and baked apples begins to fill the air, a scent that immediately evokes a sense of comfort...

Easy Homemade Birthday Cakes: Simple Recipes & Delicious Ideas
There is a unique magic in pulling a homemade birthday cake from the oven, especially when the process feels approachable rather than intimidating. Easy...

Delicious Savory Xmas Treats Recipes Ideas
The holiday season transforms our kitchens into hubs of aromatic delight, where time-honored recipes share space with new culinary adventures. While peppermint...

Best Homemade Leather Conditioner Recipes for Soft, Durable Leather
Your favorite leather goods—from a sleek jacket to a cherished sofa—deserve more than just surface cleaning. They thrive on consistent, deep hydration that...

Delicious Homemade Cakes Ideas: Easy Recipes & Baking Tips
There is a unique kind of magic that happens in a home kitchen, especially when the scent of vanilla and warm sugar begins to fill the air. Creating homemade...